Thanksgiving
Thankful Moments Paper Chain
 Facebook
 Pinterest
 X
X LinkedIn
 Reddit
 WhatsApp
 Telegram
 Bluesky
 Email
Email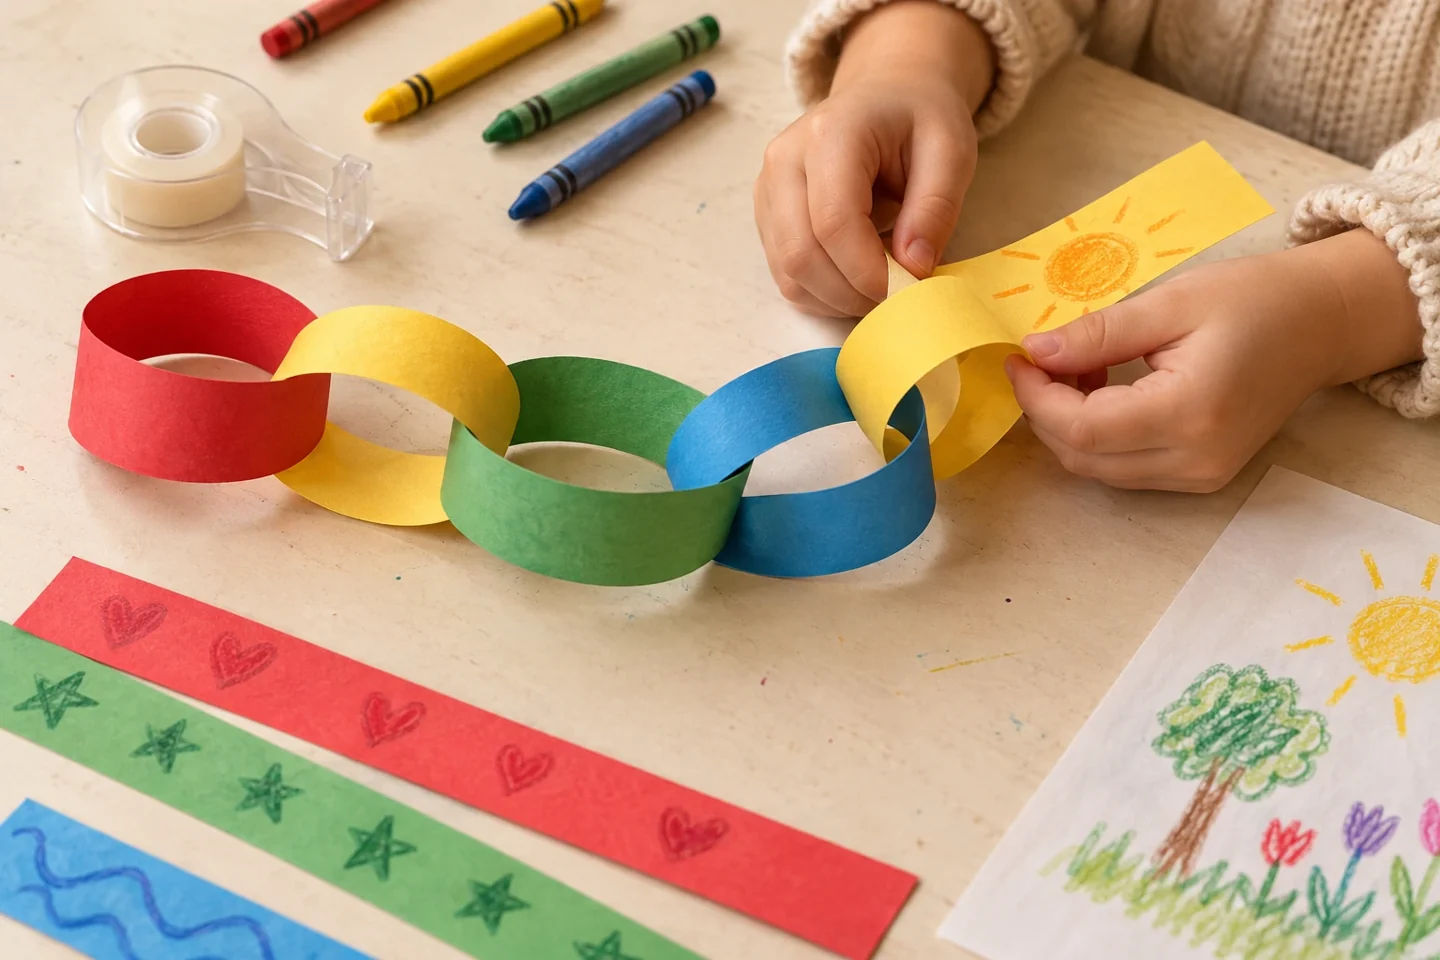
Your activity at a glance
| Suggested ages | 4–10 |
|---|---|
| Activity time | 30 minutes |
What you need
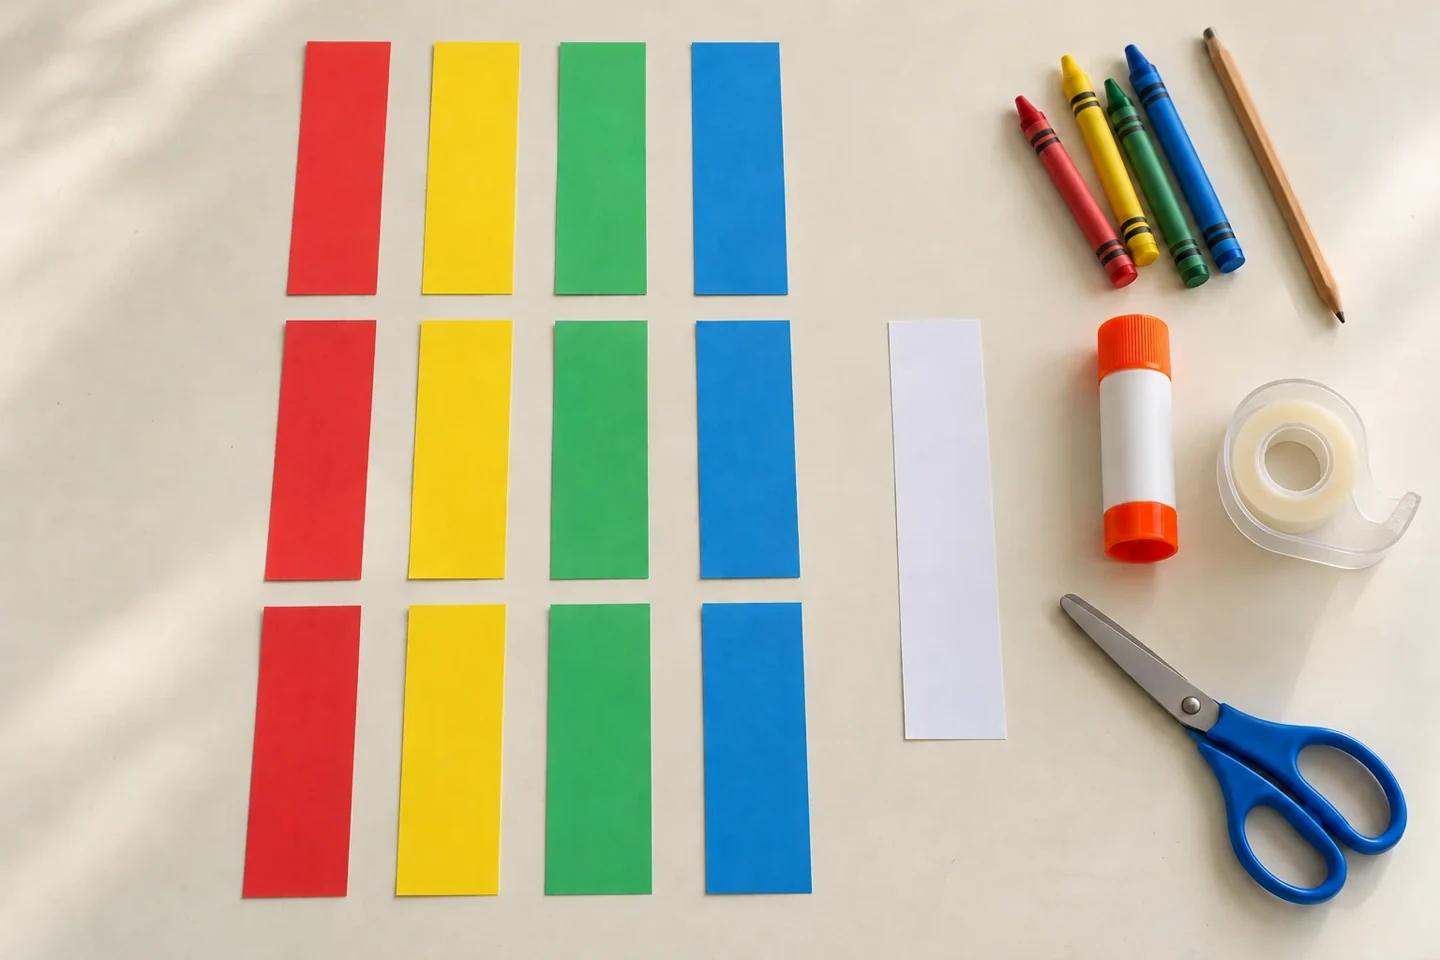
- Twelve colored paper strips 3 × 20 cm
- crayons
- glue stick or tape
- pencil
- Scissors for an adult to prepare equal strips
- One spare plain practice strip
A little project with plenty to discover
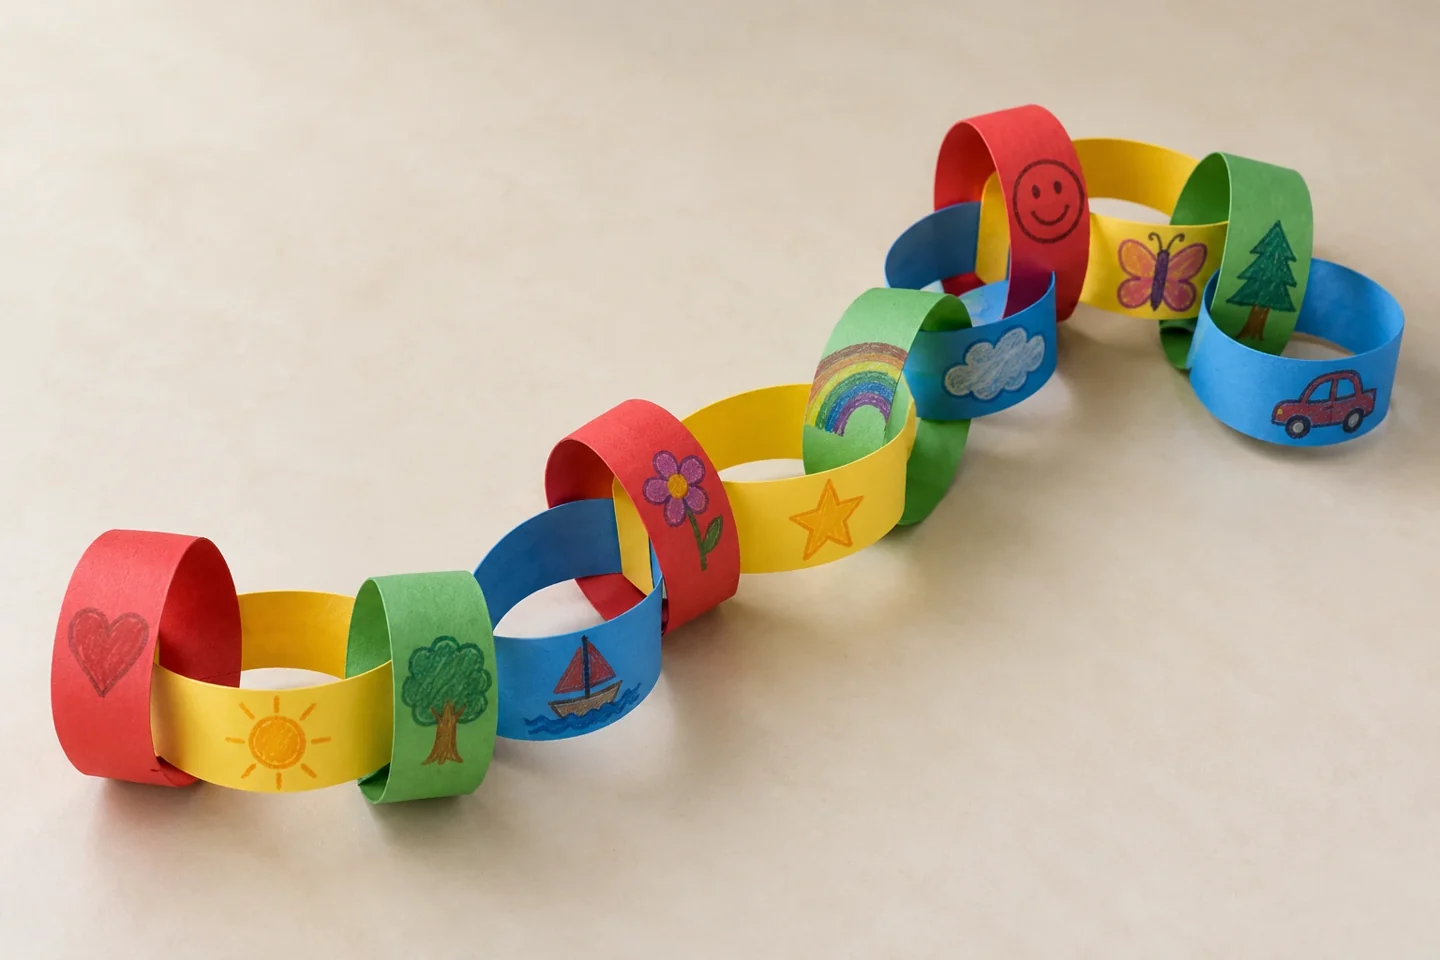
Each link holds one small moment worth remembering. Joining the links turns separate drawings into a shared decoration that can grow through the season.
Cut twelve strips approximately 3 by 20 cm and leave a small joining space at each short end. Ordinary colored paper bends easily into links; heavy cardstock can spring open. Provide crayons that show clearly on the chosen colors. If children want longer drawings, use a wider strip while keeping the length similar. Put one plain loop on the table to show the construction, but leave the content blank so children can choose the memories themselves.
Prepare and introduce the activity
Invite a specific moment rather than a broad list. A picture of someone sharing crayons or a note about a pleasant walk is easier to talk about than a demand to name everything one appreciates. Decorate the middle of the strip and keep the ends clear for tape. Make the first loop with the picture facing outward. Every next strip must pass through the preceding loop before its ends are joined. Check the connection after each link so the chain does not become separate rings.
Choose tape or glue before the first link. Tape gives an immediate join; a glue-stick join needs a short squeeze and drying pause before the chain is lifted. Overlap the clear ends about 2 cm, keeping each picture outside the loop. For the next link, pass the flat strip through the existing loop first, then join its own ends. A drawing of sharing a crayon or walking with someone is plenty for one strip. Twelve prepared strips can become a short shared chain today, with unused strips saved for later memories.
Make it step by step
- Cut strips wide enough for a small picture. Leave approximately 2 cm blank at each short end for joining.
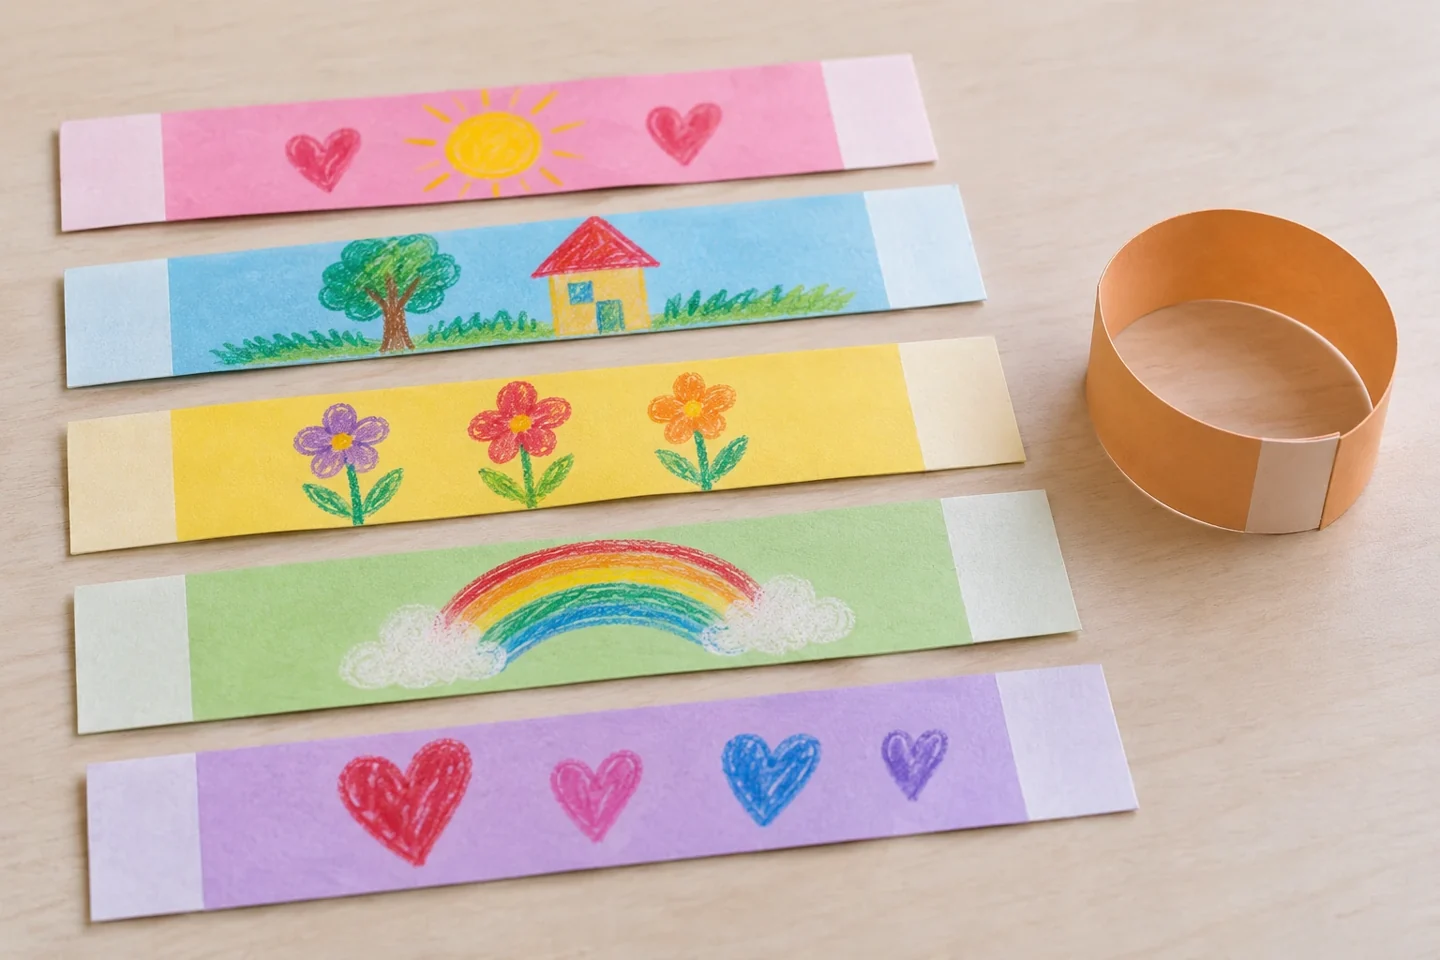
Leave the short joining ends blank while drawing in the middle of each strip. - Invite a drawing or short note about an appreciated moment on the center of one strip. Let children choose everyday subjects.
- Curve the first strip into a loop and tape its overlapping ends. Check that the picture remains visible on the outside.
- Thread the next strip through the first loop before joining its ends. Continue one link at a time.
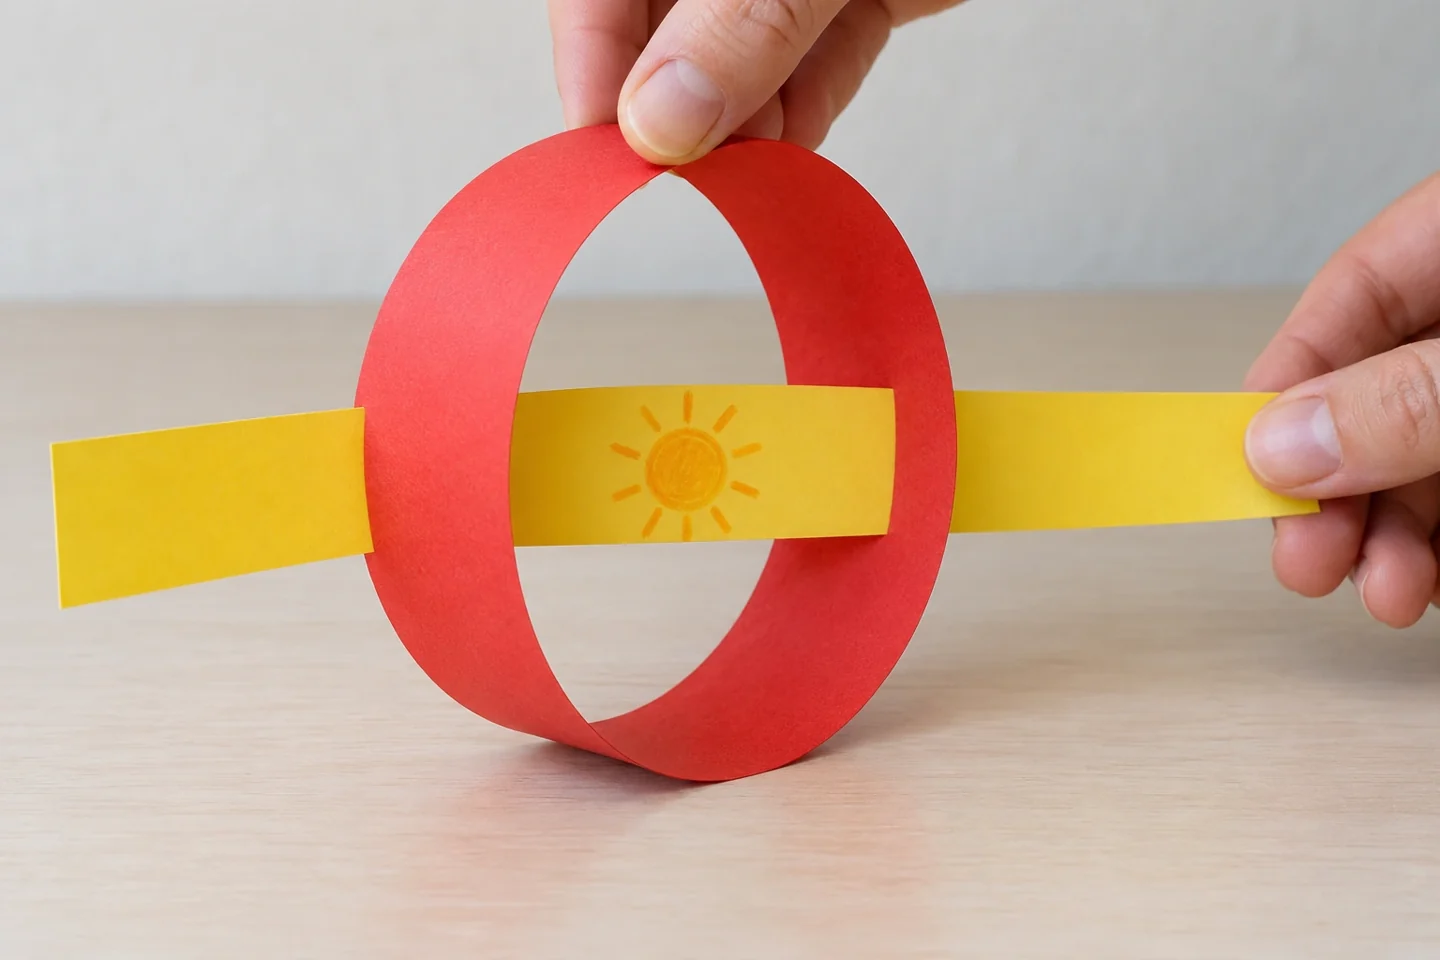
Pass the next strip through the open center before bringing its ends together. - Drape the chain along a shelf or board with adult help. Read or describe a few links together and add new ones when there is something to share.
Make it work at home or in your classroom
Younger children can draw while an adult joins the links; they may also enjoy threading a strip through the last loop. Older makers can write a brief sentence or help plan an alternating color sequence. In a classroom, give each child one or two strips and assemble the contributions without requiring every maker to speak publicly. At home, add links over several days. A short chain with meaningful drawings works as well as a long decoration, so there is no need to fill every prepared strip.
Talk, notice, and learn together
How does one link connect to the next? Which moment would you like to remember later?
Ask a child to find their own link and describe what the picture shows. Look at the physical chain too: which loop connects two others, and what happens if one opens? These observations give words such as through, around, inside, and next to a concrete meaning. If children wish, place related moments near one another before joining the chain, but do not rank the memories. The display can include ordinary comforts, acts of help, and shared fun without needing a dramatic story.
Helpful fixes
A link opens: add tape across the overlap. Pictures disappear inside loops: turn each decorated side outward before joining.
Explore a separate color chain
Try a second chain made only from blank practice strips to explore repeating colors. Build red-yellow-red-yellow, then compare it with a red-red-yellow rule. Keeping this construction game separate from the memory links avoids moving someone’s contribution solely to fit a decorative pattern. Children can also estimate how many links will span a shelf and test their estimate as the practice chain grows. Remove the practice rings afterward and save them for another paper-building activity if the tape comes away cleanly.
Finish and clean up
Display the chain where it will not cross a doorway or create a reachable loop around play equipment. Drape it on a shelf or secure it to a board with adult help. If a join opens, support the chain while adding tape so nearby links do not tear. Store the chain loosely in a box rather than flattening every loop. Unused decorated strips can stay flat in an envelope, ready to be added later. Collect tape backing and small offcuts before leaving the table.