Thanksgiving
Turkey Shape Collage
 Facebook
 Pinterest
 X
X LinkedIn
 Reddit
 WhatsApp
 Telegram
 Bluesky
 Email
Email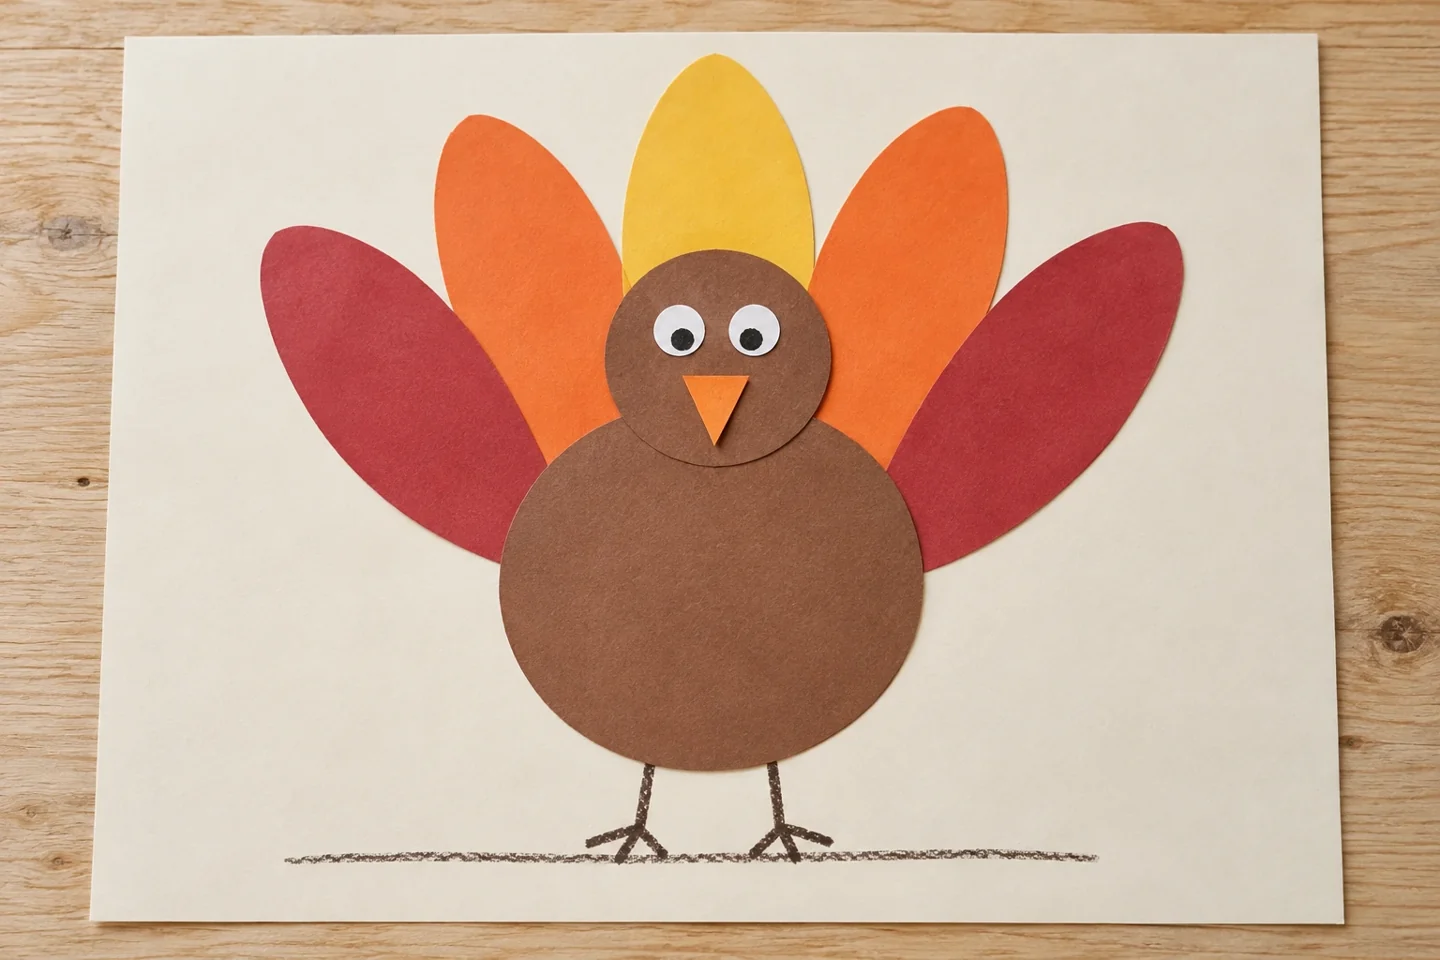
Your activity at a glance
| Suggested ages | 4–8 |
|---|---|
| Activity time | 25 minutes |
What you need
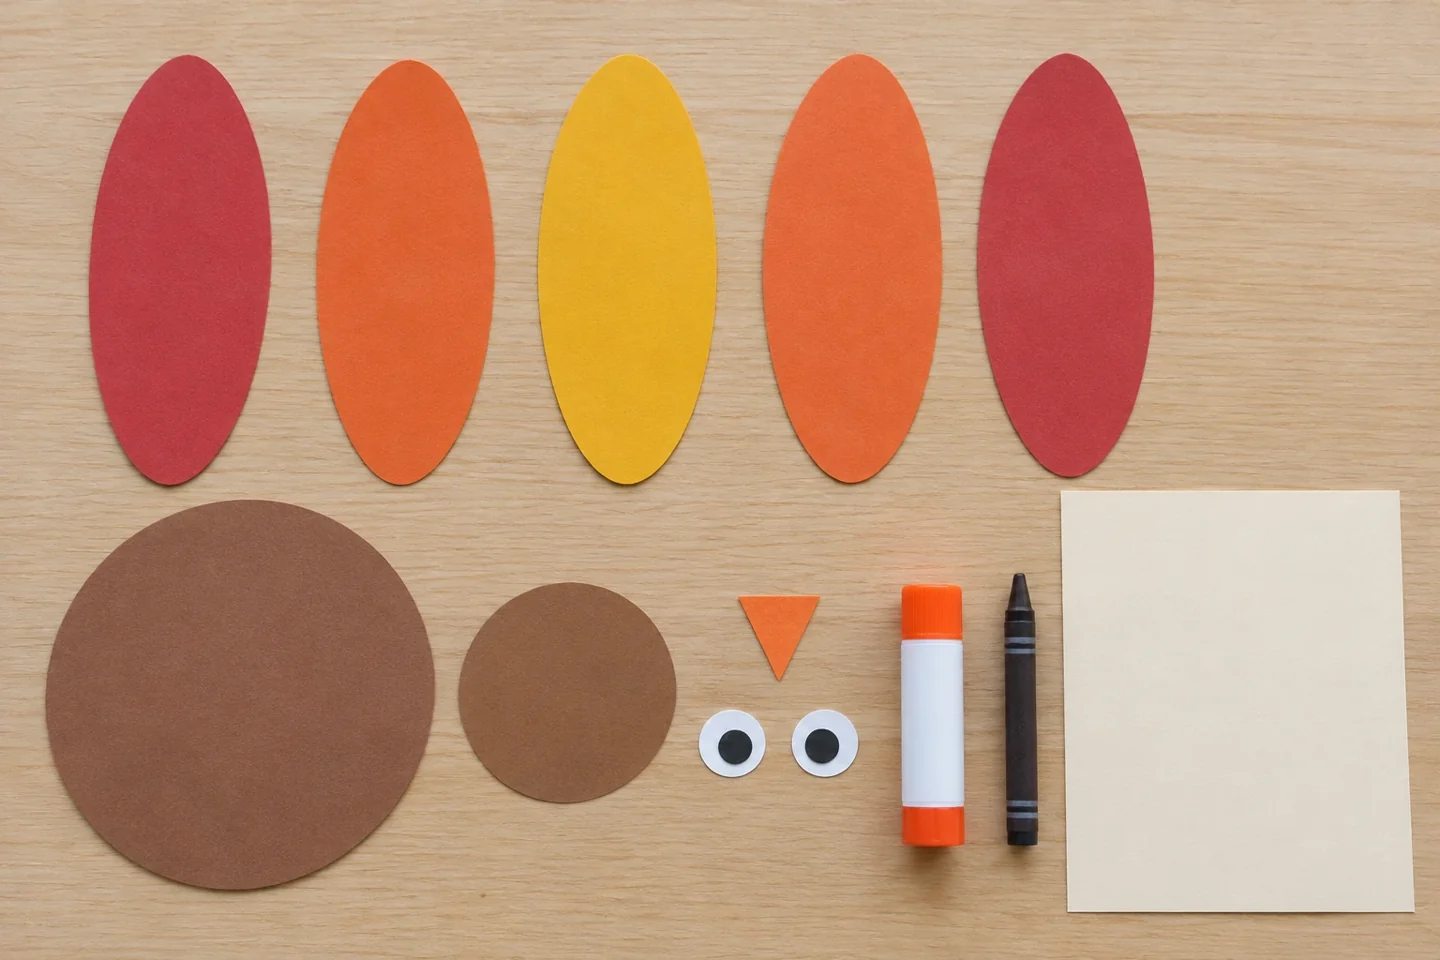
- One large brown paper circle
- one smaller brown circle
- five colored feather ovals
- one orange triangle
- two paper eyes
- background paper
- glue stick
- A dark crayon for the legs and ground line
- Child-friendly scissors, or adult-precut shapes
Make room for a meaningful little project
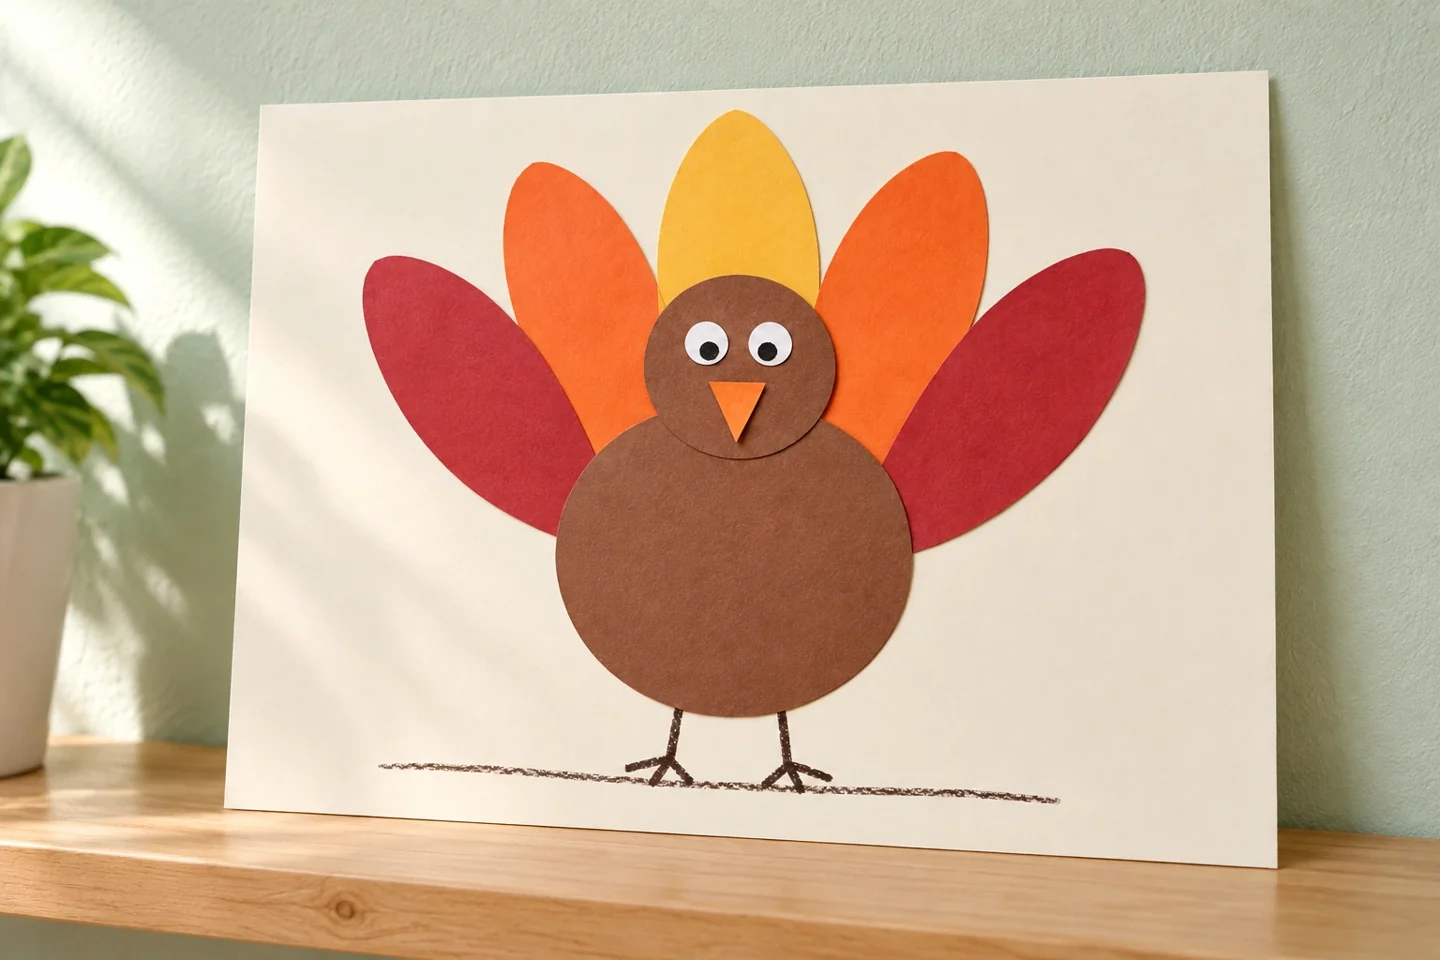
A turkey picture emerges from a handful of familiar shapes. Before gluing, children can move the pieces around and discover how position changes the whole character.
Prepare a simple set: a body circle about 12 cm wide, a head circle about 6 cm wide, five feather ovals about 10 cm long, and a small orange triangle. The sizes can vary, but the body should cover the feather ends while leaving their tips visible. Put the shapes on a plain background so their edges are easy to see. Let children choose feather colors; a purple or green feather is a perfectly reasonable choice in an imaginative collage.
Prepare and introduce the activity
Build the picture without glue first. Lay the feather ovals like a fan, then place the body over their lower ends. Move the head around to see how the turkey changes if it looks sideways or sits higher. Once the maker likes the arrangement, lift the body carefully and glue the feather layer. Replace the body and attach the face. Working from the back layer forward prevents a last-minute attempt to tuck glued feathers beneath an already fixed circle.
Make it step by step
- Cut or provide the large body circle, smaller head circle, five feather ovals, triangle beak, and paper eyes.
- Lay the feathers in a fan on the background. Overlap their lower ends while keeping the upper tips visible.
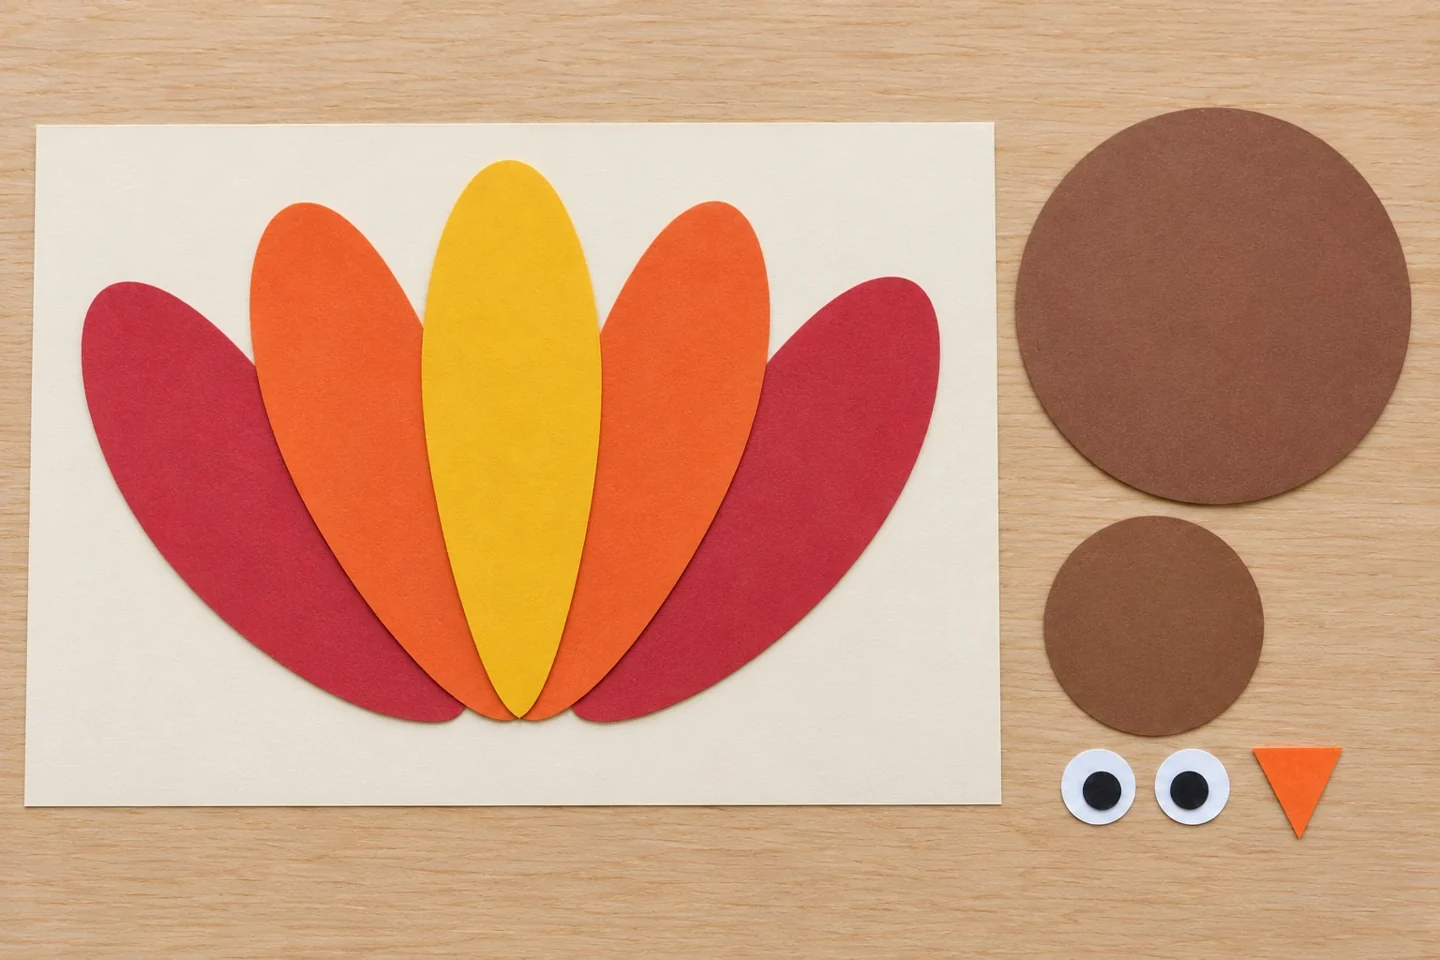
Overlap the lower feather ends to make a fan. - Place the large body circle over the lower feather ends. Set the small head circle near the top of the body.
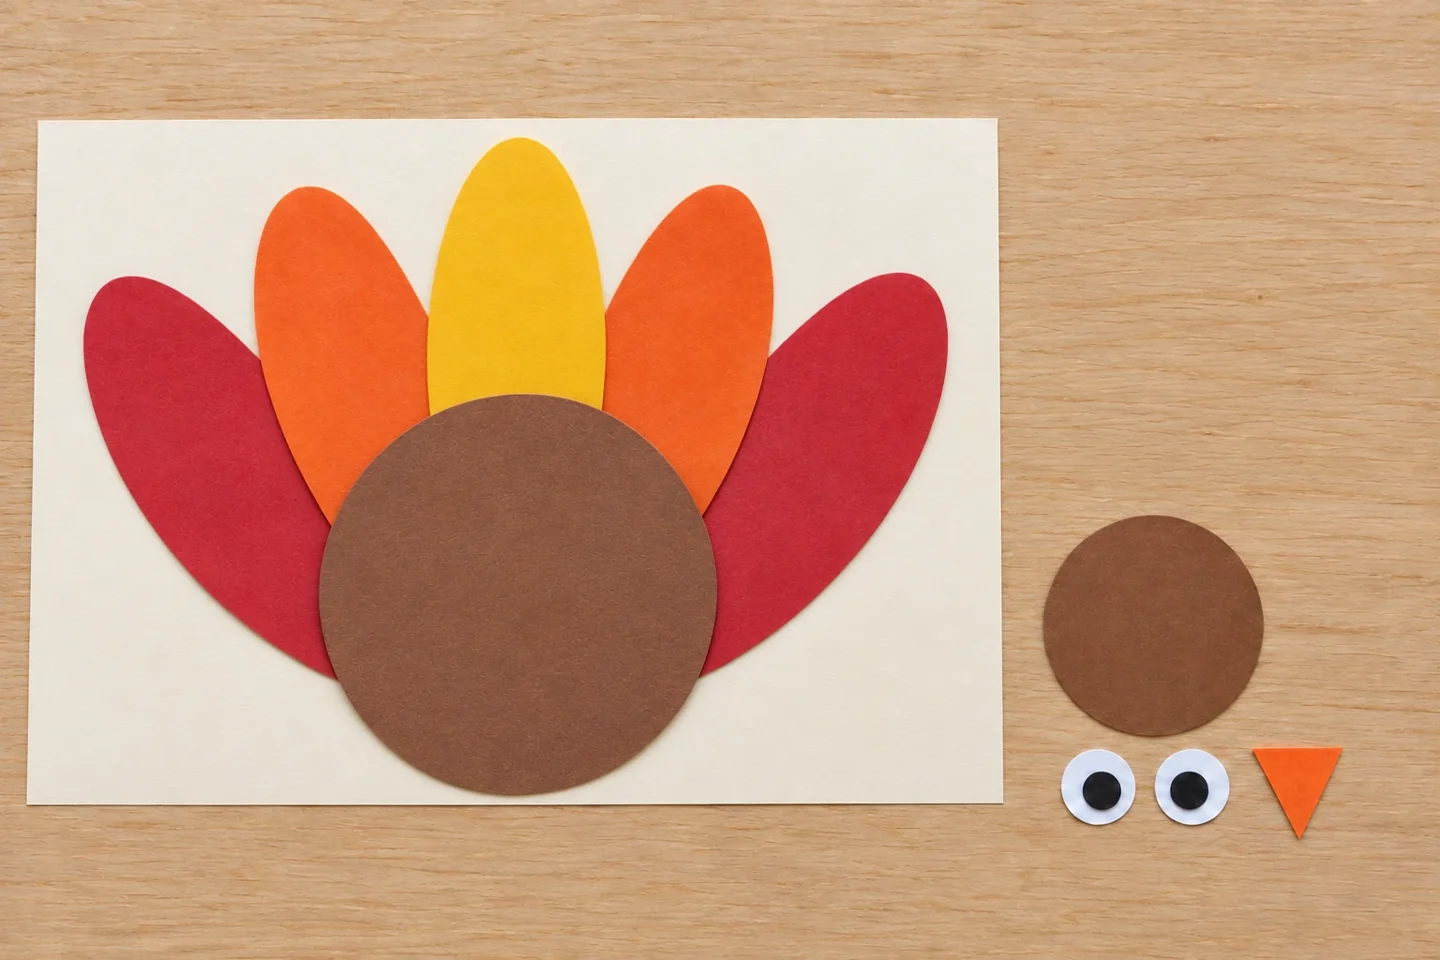
Place the body over the feather ends before adding the head. - Move the eyes and triangle beak until the expression looks right, then glue the feather layer first and the body layers afterward.
- Draw two legs and a ground line. Count the feathers and identify which shapes changed jobs in the picture.
Adapt it for home or classroom
For younger children, pre-cut larger shapes and begin with three feathers. They can place the parts while an adult applies small glue patches. Older children can draw and cut their own shapes or compare two arrangements before choosing one. A classroom station works well with a complete shape set on each tray and a separate scrap basket for optional details. Avoid requiring everyone to use the same feather order; the shared construction can still produce a lively collection of different turkeys.
Conversation and learning connections
Which circle is larger? What else could we build from these same shapes?
Count the visible feathers and name the shapes that became parts of the bird. Ask which piece is largest and which parts overlap. A circle is still a circle even though it represents a body in this picture; that connection helps children distinguish a material’s shape from its pretend role. Invite a second design made from the same shapes, such as a flower with an oval petal fan. The goal is to notice how position and combination change what the viewer sees.
Helpful fixes
Feathers vanish: move the body lower before gluing. Pieces curl: press the dry collage under a clean sheet and a light book.
An extra way to explore
Try a color-pattern version after the free-choice collage. Offer feathers in two colors and ask whether a repeating order can fit across five positions. A red-yellow-red-yellow-red fan has an alternating structure even though it ends with an extra red feather. Older children can sketch a planned sequence before arranging it, then compare the plan with the finished picture. Keep this extension separate from the first collage so children do not feel their original color choices were a mistake. Both designs can be displayed together.
Finish and clean up
Glue the paper pieces with light, even pressure and allow the collage to dry flat. If a feather lifts, add a small amount of glue at its lower end rather than covering the whole picture. Save circles and ovals that were not used in a labeled shape envelope. The finished page can sit in a folder after drying; avoid pressing it against another damp collage. Wipe glue from the table and let children help sort the remaining paper pieces by size or shape.