Winter & New Year’s
Build a Cardboard Winter Village
 Facebook
 Pinterest
 X
X LinkedIn
 Reddit
 WhatsApp
 Telegram
 Bluesky
 Email
Email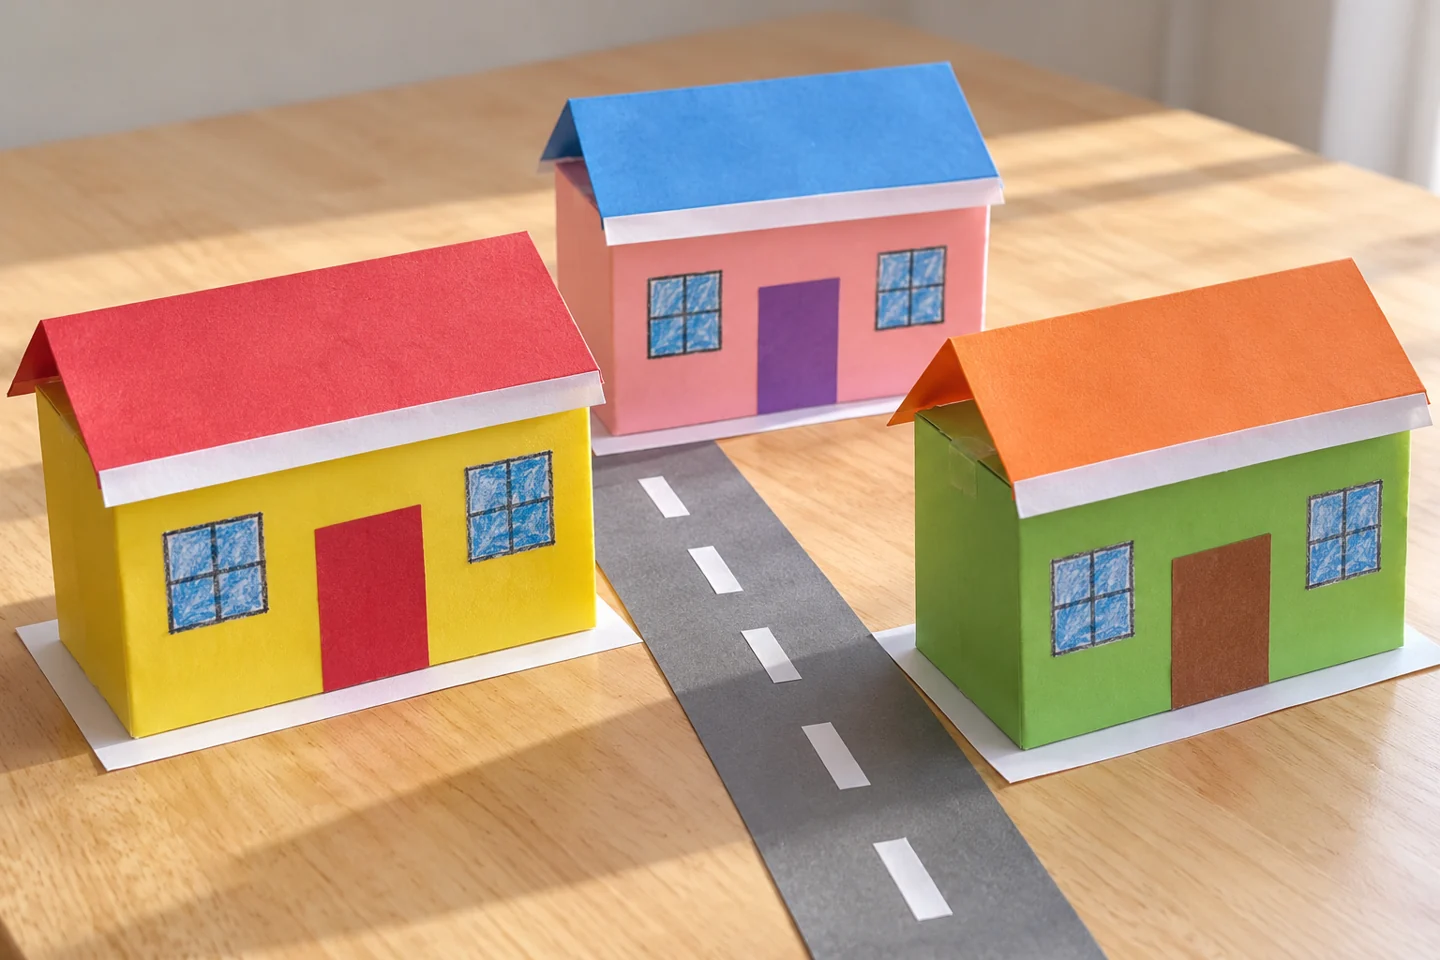
Your activity at a glance
| Suggested ages | 5–10 years |
|---|---|
| Activity time | 40–60 minutes |
What you need
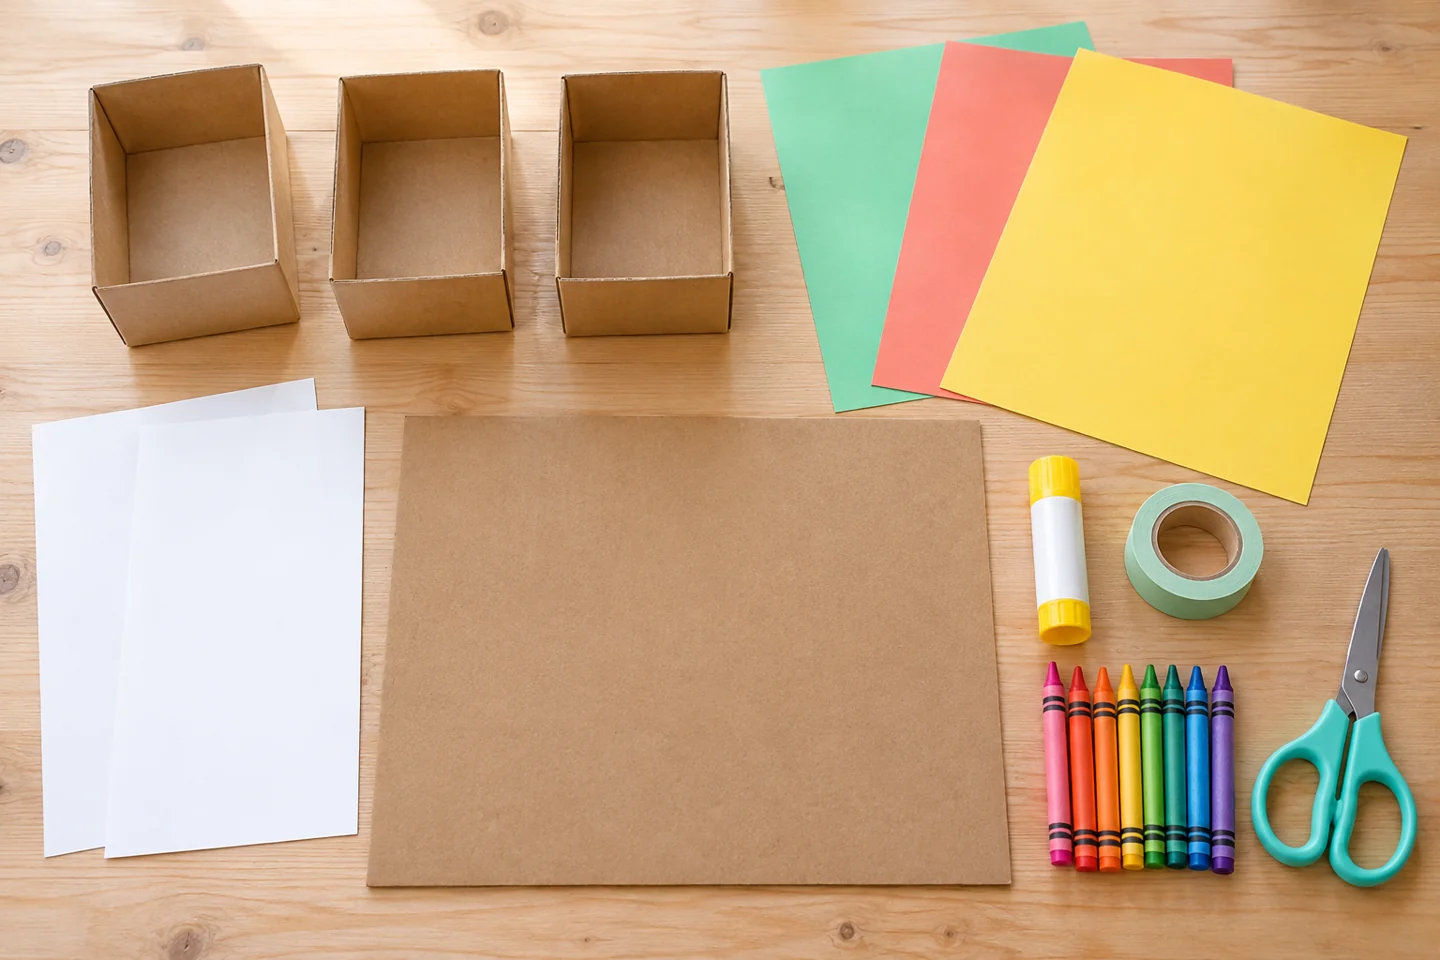
- 3 clean small cardboard cartons
- 3 sheets of colored paper for roofs; up to 3 extra sheets for optional wall coverings or a paper road
- 2 sheets of white paper
- Glue stick
- Paper tape
- Crayons
- Scissors
- One cardboard base, about 40 × 30 cm
A creative winter invitation
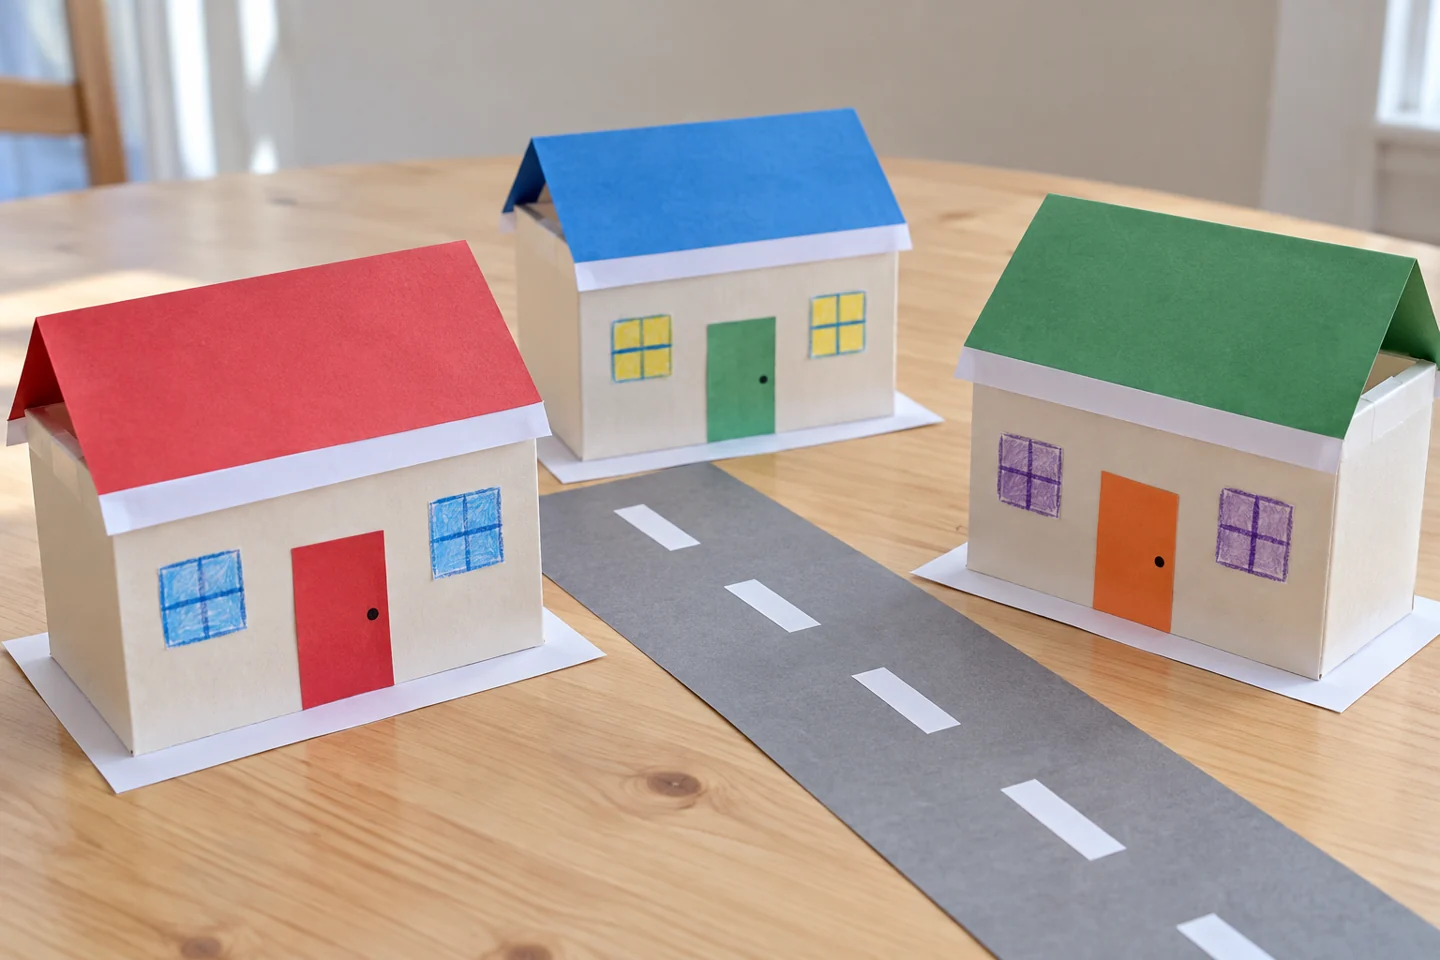
A few empty cartons become a small winter neighborhood with paper roofs, doors, and snowy edges. Children make individual houses and then decide how the houses belong together: where will a road go, and how could a person reach each door? The finished village invites pretend play as well as a satisfying construction project.
Before you begin
Clean and dry the cartons, remove any sharp staples, and tape the bottom flaps shut. Choose three different boxes that stand securely without support. Cut roof rectangles with a little overhang, but keep them small enough that they will not pull a lightweight house sideways.
Lay the cardboard base on a stable table and agree where the village will be stored after construction. Put each house’s roof and decorating paper in a small pile. Make one undecorated roof example to demonstrate the fold without prescribing every house’s appearance.
Make it step by step
- Prepare sturdy house shapes. Choose cartons roughly 8–15 cm tall with closed bottoms. Remove sharp staples or rough torn edges before children start. Seal loose flaps with paper tape. Stand the boxes on the base and try two arrangements, leaving enough space for a paper road between them rather than fitting every house tightly together. If you would like colored walls, wrap a sheet of paper around a carton and secure the overlap with tape; brown cardboard walls work equally well.
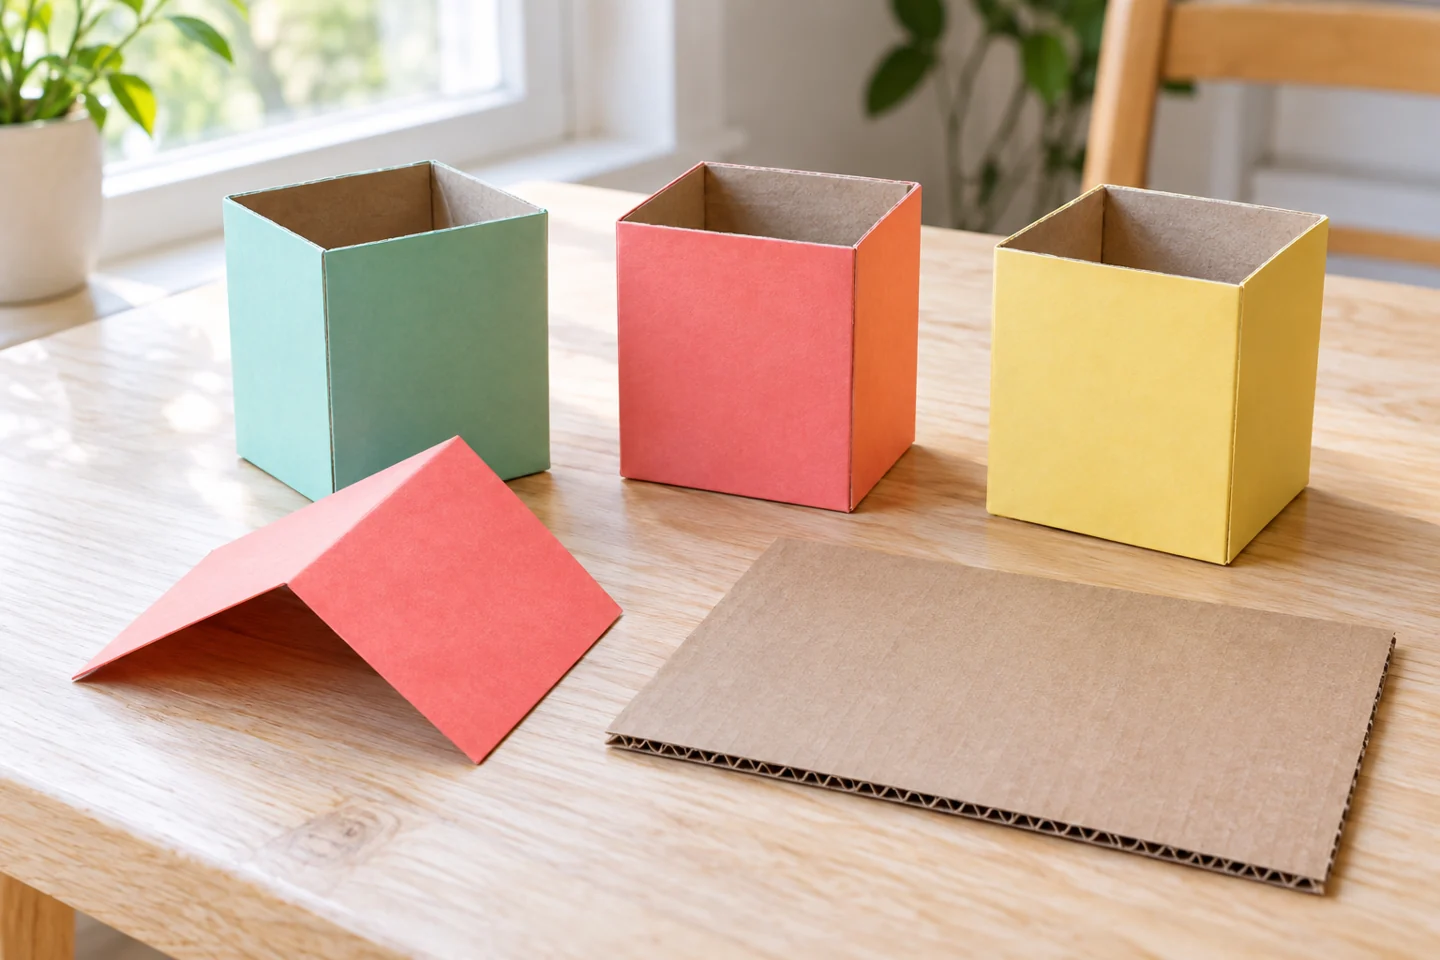
Prepare the first pieces before moving on. - Fold a roof. Cut a colored rectangle slightly longer and wider than the top of one box. Fold it across the middle to create a pitched roof. Place the two sloping sides over the box and attach them with small tape tabs at the lower edges. A low roof is easier to secure than a very tall, steep one.
- Add doors and windows. Draw doors and windows on paper, cut them out, and glue them onto the walls. Keep these as flat decorations; the cartons do not need cut openings. Invite children to choose a different recognizable feature for each house, such as a round window or a wide door. Draw details before gluing for easier work.
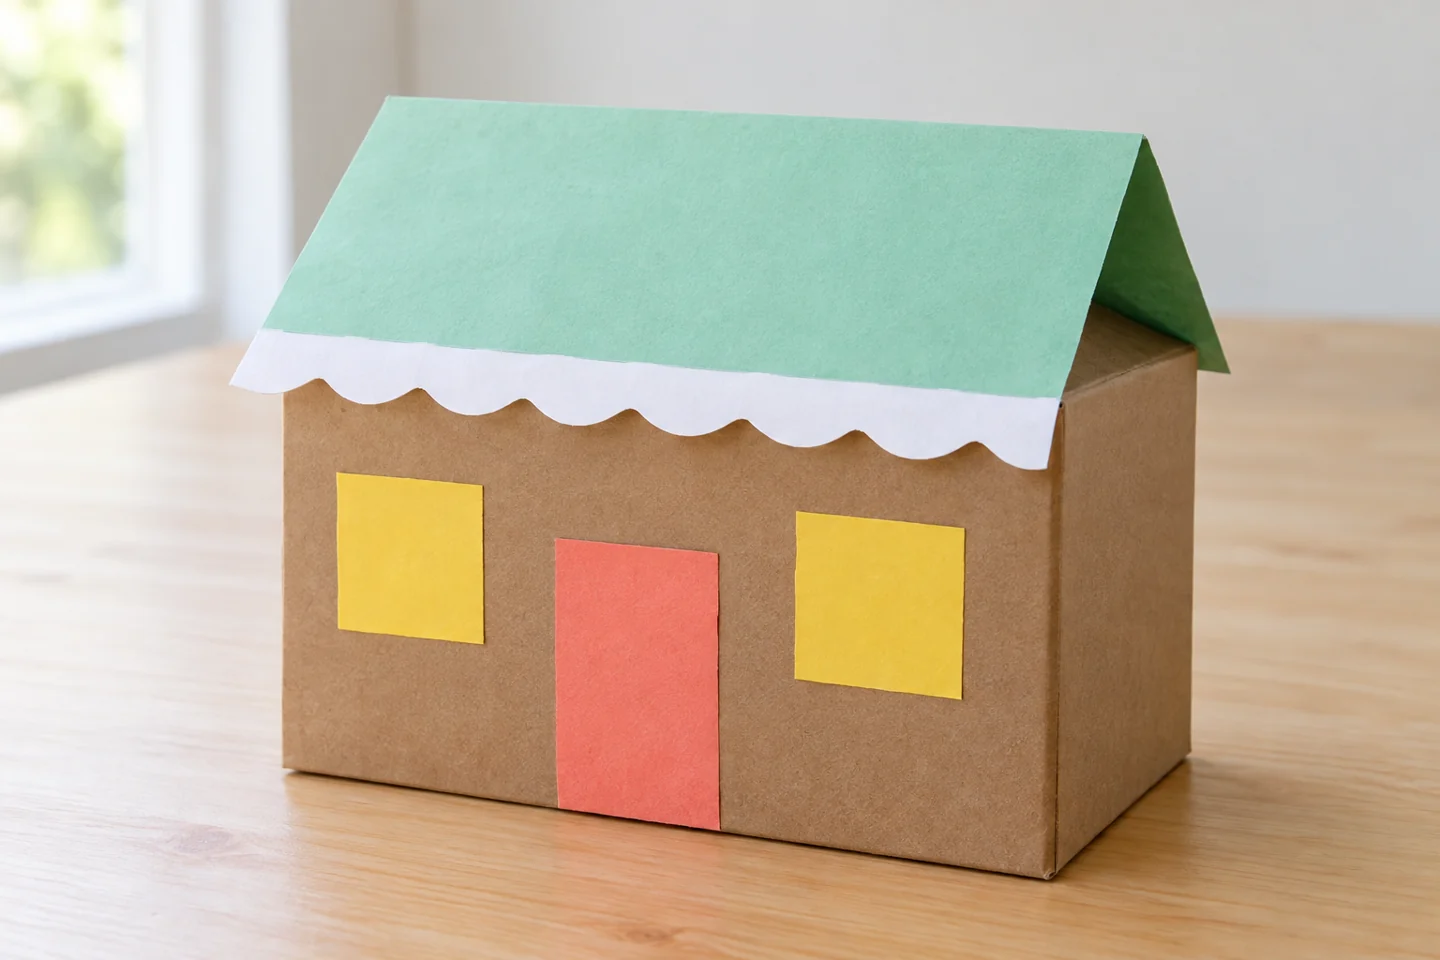
A closer look at the key construction or setup step. - Create paper snow. Tear or cut narrow white strips with uneven lower edges. Glue them along roof edges, keeping the fold visible. Add a few flat white shapes to the base as imagined snow patches. Avoid thick piles that cover roads or stop houses standing securely. White paper gives the winter effect without loose artificial snow.
- Arrange the neighborhood. Place the finished houses again and draw or tape a road linking their doors. Add folded paper trees and a central meeting space if desired. Let children move the houses during a short pretend story before fastening any to the base. Notice how changing a building’s position changes the route through the village.
Talk, notice, and explore
Ask, “Can someone reach every front door without crossing another house?” Follow a finger along the imagined road and check each entrance. Move one building and compare the route. This connects the construction to spatial planning rather than simply adding more decorations.
Try asking which roof is widest and how the child knows. Place the houses side by side or compare the roof pieces before attaching them. For pretend play, ask where a visitor would wait or turn around; children can add a meeting space that responds to their own story.
For another design challenge, try moving one house to the opposite side of the road. Ask children whether their original route still reaches all three doors. They can redraw the road or move a second building, then explain which solution leaves more open space. Keep buildings movable until everyone has tried the arrangement.
Make it work at home or in a classroom
Younger builders can decorate prepared cartons while an adult attaches roofs. Older builders can measure roof overhangs or plan a road before construction. In a classroom, give each pair one house and combine them on a shared base, discussing access to doors. A single-house scene is an equally complete home version.
Helpful fixes, cleanup, and keeping the result
If a roof slips, add an extra tape tab inside its lower edge. A leaning box may need its bottom flap retaped rather than more decoration. Let glued paper dry before lifting the village. Store houses separately in a shallow carton and reuse the base for a new neighborhood another day.