Winter & New Year’s
Create a Family or Classroom Time Capsule
 Facebook
 Pinterest
 X
X LinkedIn
 Reddit
 WhatsApp
 Telegram
 Bluesky
 Email
Email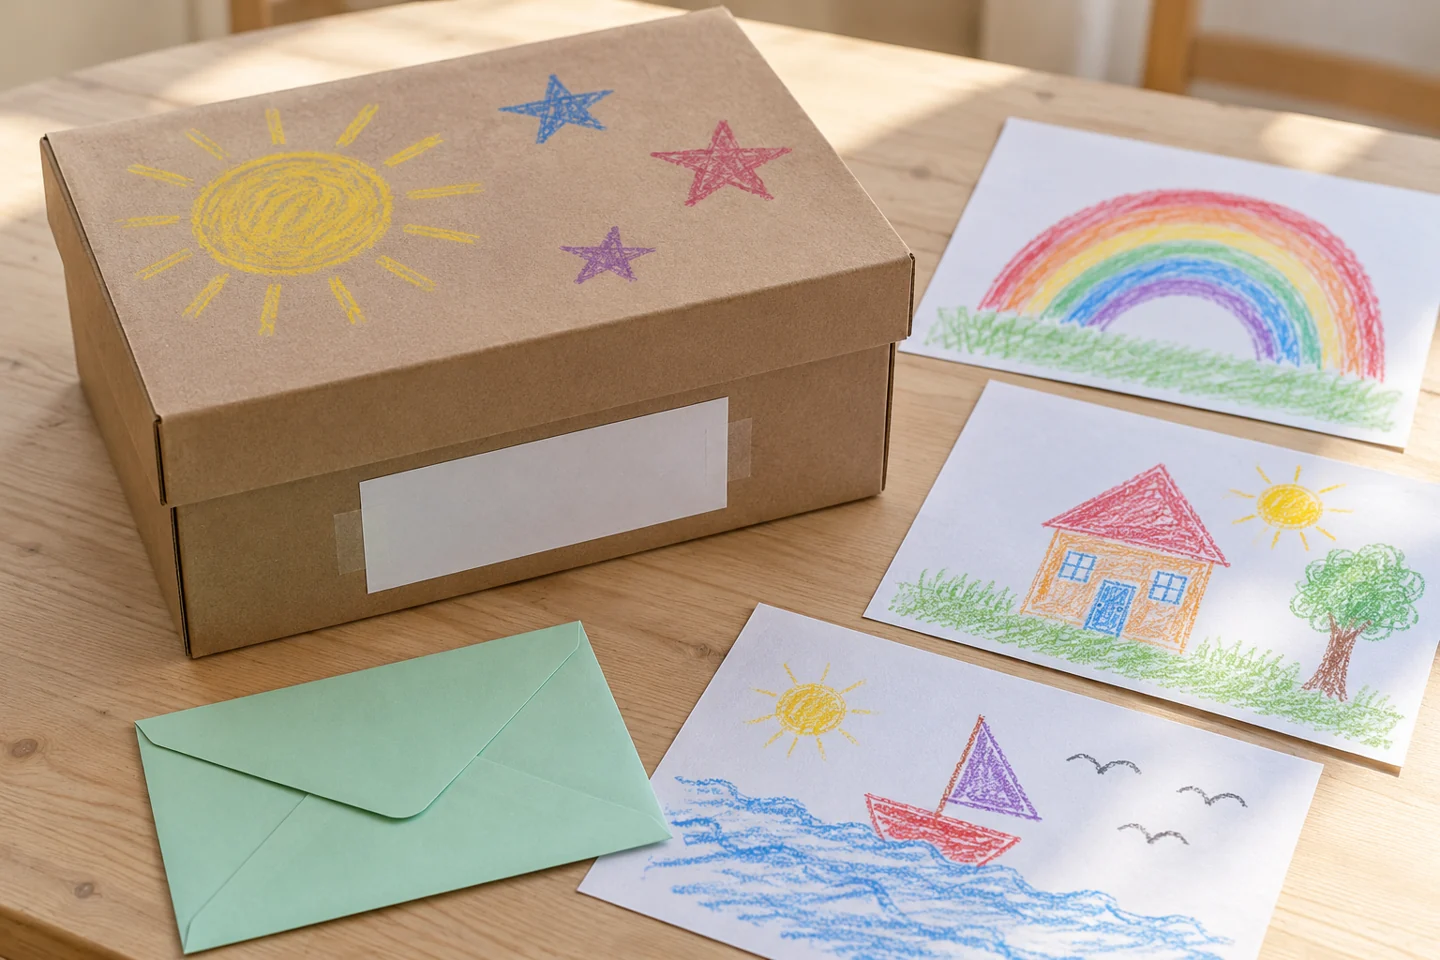
Your activity at a glance
| Suggested ages | 5–11 years |
|---|---|
| Activity time | 35–50 minutes |
What you need
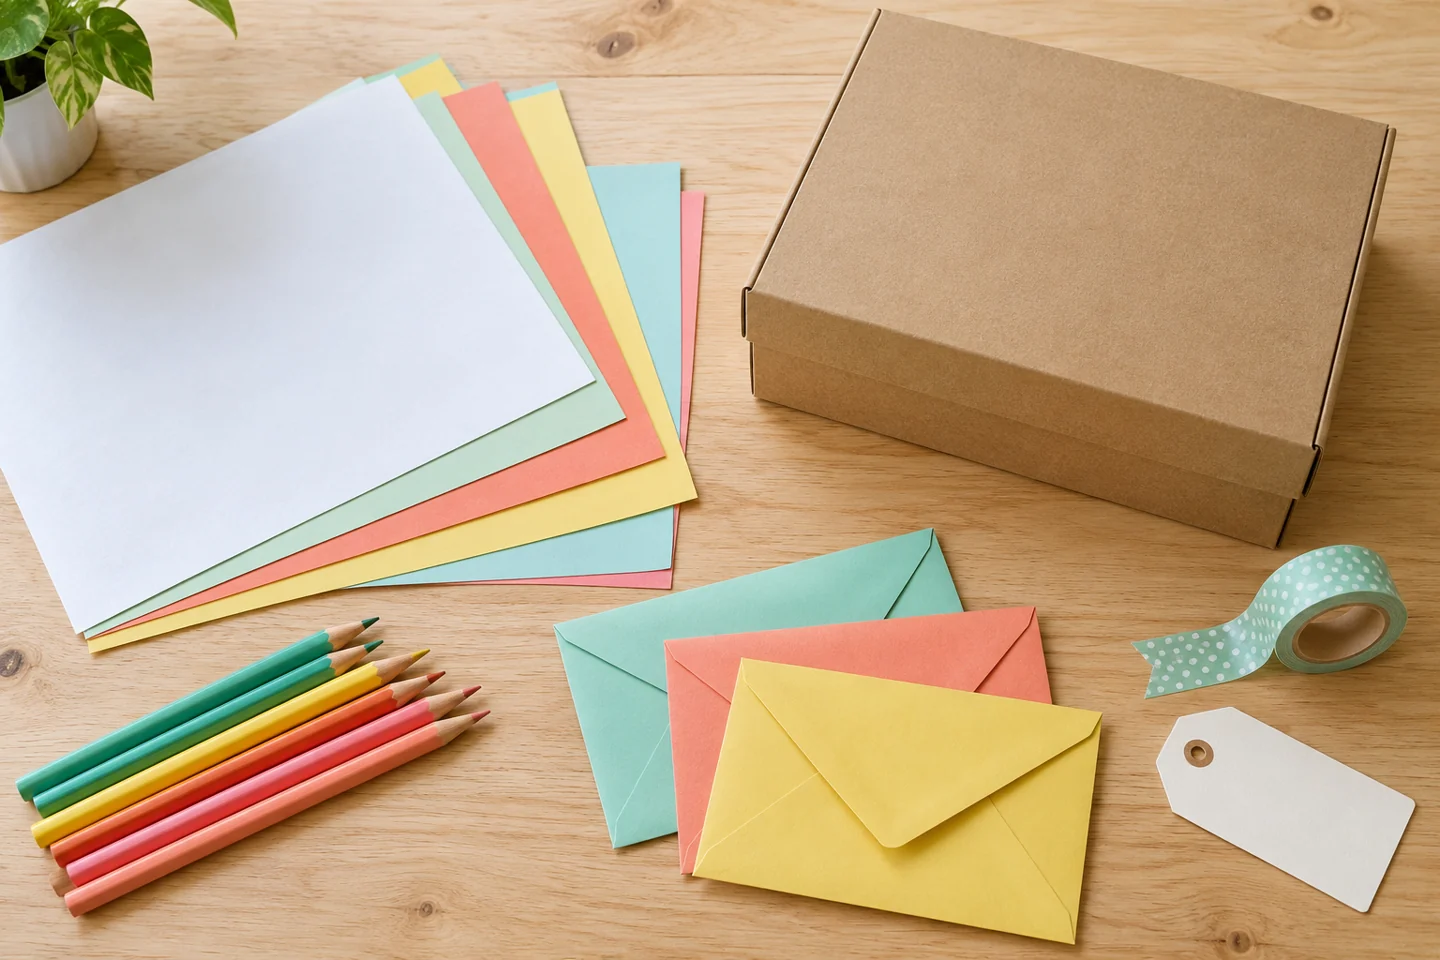
- One clean lidded cardboard box
- 4–8 sheets of paper
- Pencils or crayons
- Paper envelopes
- Tape
- One paper label
A creative winter invitation
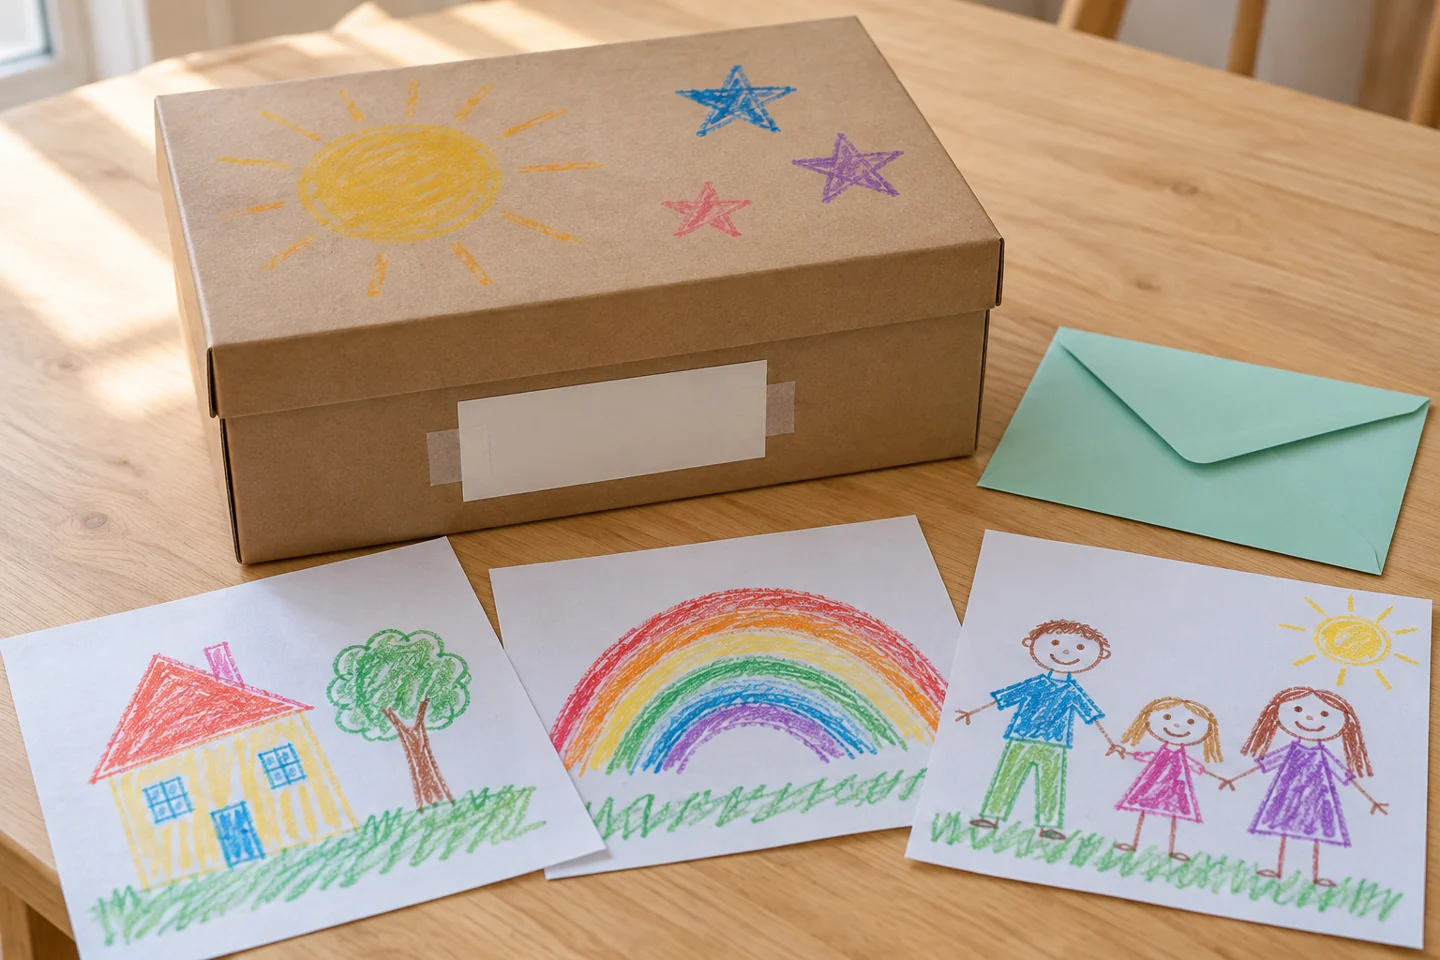
A time capsule keeps a small snapshot of what matters right now. Children contribute drawings, favorite-things pages, and a few ordinary paper memories, then choose a future opening day together. A clean cardboard box stored indoors works well; there is no need to bury anything or use objects that could spoil.
Before you begin
Choose a clean, dry cardboard box that fits the planned pages without tight folding. Set out one envelope per participant and write down the future opening date on a separate label. Agree on an indoor storage place before filling the box so it remains easy to find.
Keep the contributions simple: favorite-things drawings, copies of paper memories, and short notes. Explain that originals with financial or personal value should stay with their owners. Show children where they can draw and where an adult can record their words if writing feels like an obstacle.
Make it step by step
- Choose an opening plan. Pick a future occasion everyone can understand, such as the end of a school term or the next family gathering. Record the actual opening date on the label when you make the capsule, even though this evergreen guide has no fixed year. Choose one adult to remember the storage place and the plan.
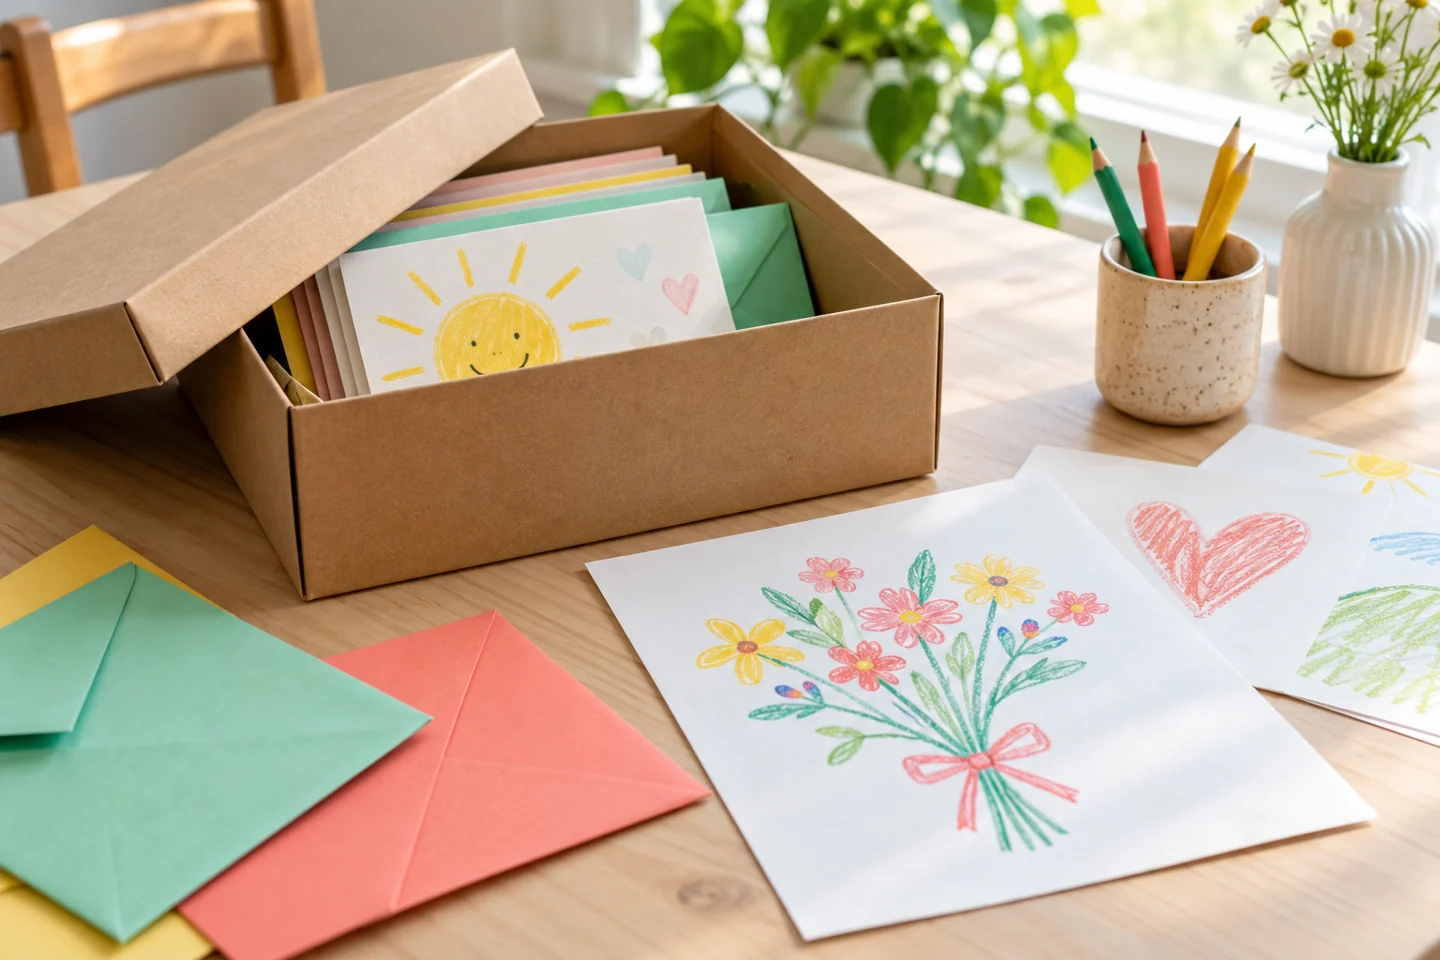
Prepare the first pieces before moving on. - Make a current-favorites page. Give each child a page with space for a self-portrait and three current favorites. Suggestions include a game, a story, and something they enjoy making. Children can draw all three or dictate words. Avoid asking for addresses, passwords, contact details, or private information: ordinary interests are enough to make a meaningful snapshot.
- Add a small memory. Choose a drawing, a copied recipe, a ticket-sized paper keepsake, or a description of a shared activity. Include a sentence explaining why it belongs in the capsule. Do not pack food, damp leaves, batteries, liquids, or valuable objects. Copies of important photographs are safer choices than the only original.
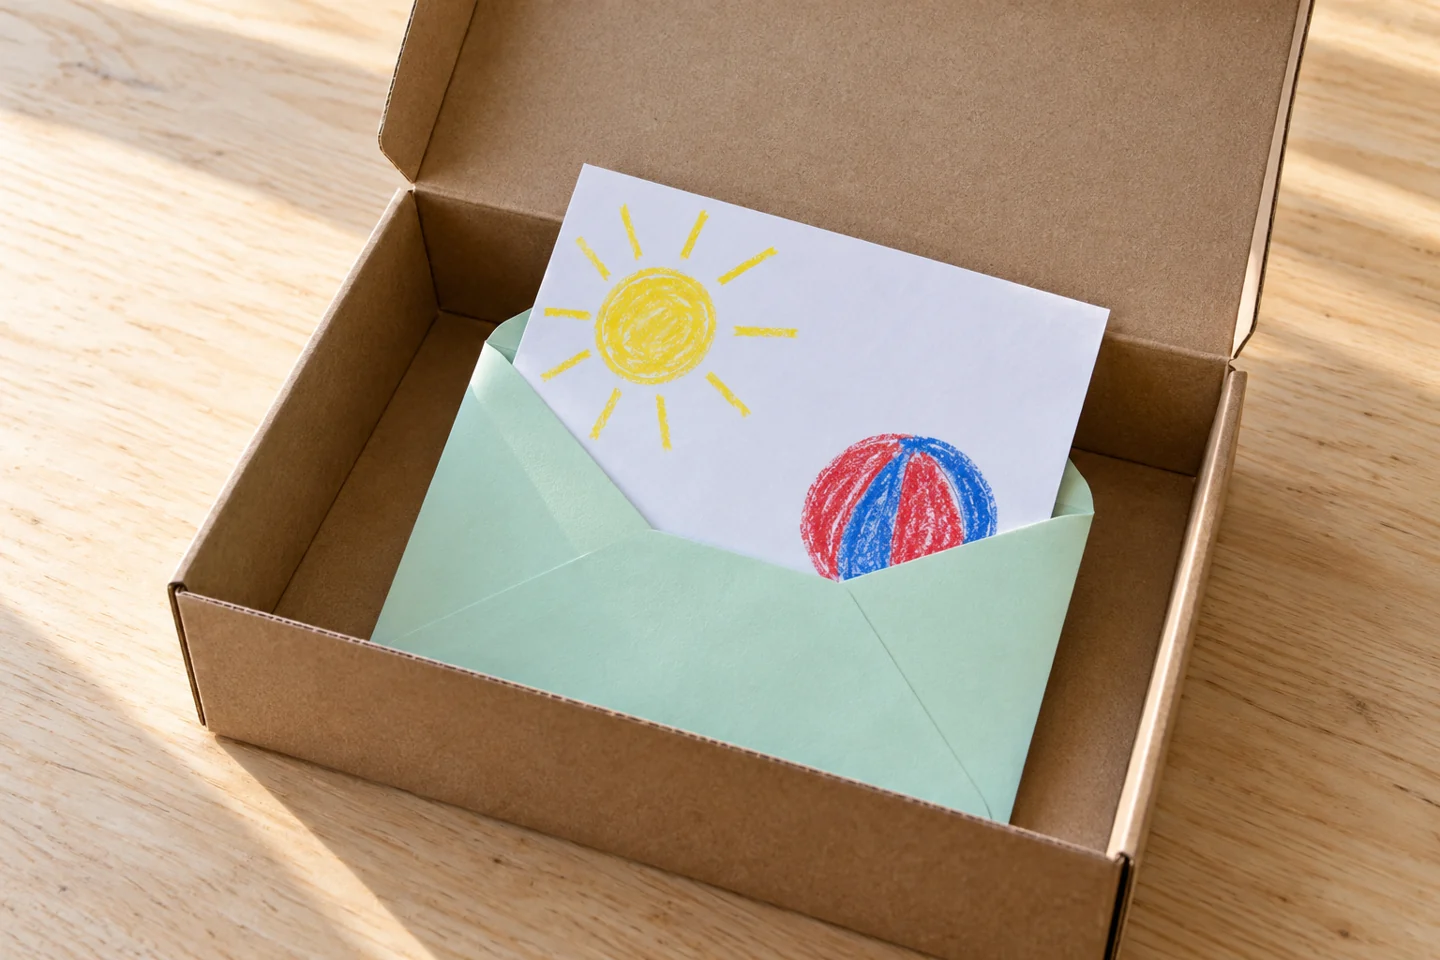
A closer look at the key construction or setup step. - Pack the pages carefully. Let everyone show or describe the item they want to share before putting it in an envelope. Fold pages only if needed to fit the box, and keep crayons or loose craft supplies outside. Arrange the envelopes flat. Add a group note saying what you hope to remember when the box opens.
- Close, store, and revisit. Tape the lid lightly and attach the opening label outside. Store the capsule in a dry indoor cupboard where the adult can find it. On opening day, compare the pages with current interests without treating changed answers as mistakes. Invite children to notice one thing that stayed familiar and one new thing they have learned.
Talk, notice, and explore
Ask, “What would help someone understand this picture when we open the box?” A one-sentence explanation can preserve the meaning of a favorite game or shared event. Invite children to choose the detail they want remembered rather than adding a long adult account.
On opening day, compare one old favorite with a current favorite. Ask what stayed familiar and what changed. The capsule is a record of a moment, not a prediction children must fulfill; changed interests can become the most interesting part of the conversation.
Before sealing the box, make a small inventory together: one envelope for each participant and any shared page placed on top. Children can draw a tiny symbol for each contribution. Keep this inventory outside the capsule with the adult’s reminder, so a missing envelope can be noticed without repeatedly reopening the box.
Make it work at home or in a classroom
Younger children can make a single favorites drawing and contribute a dictated sentence. Older children can write a short letter to their future selves. For a class, use one envelope per child and explain how items will be returned if someone moves away. A family version can include adults’ pages too.
Helpful fixes, cleanup, and keeping the result
If the box becomes too full, keep one contribution per person or move to a larger clean carton. If children want to open it early, discuss the agreed plan and consider making a separate everyday memory folder. Keep the box away from damp floors and direct heat. After opening, save the pages in a flat folder.