Winter & New Year’s
Fold and Cut Paper Snowflakes
 Facebook
 Pinterest
 X
X LinkedIn
 Reddit
 WhatsApp
 Telegram
 Bluesky
 Email
Email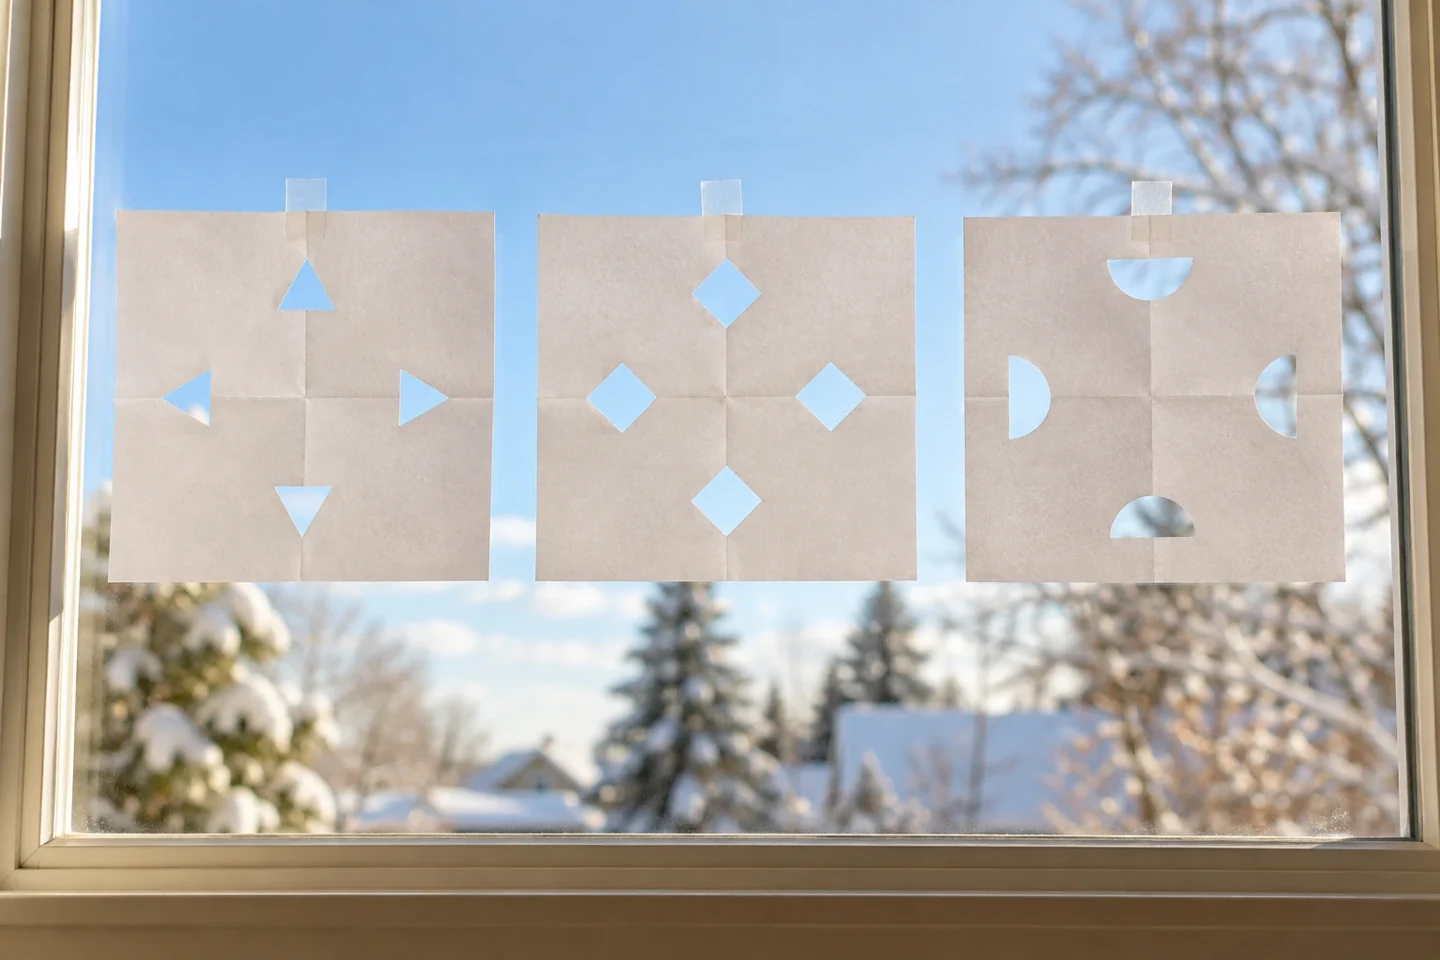
Your activity at a glance
| Suggested ages | 6–10 years |
|---|---|
| Activity time | 25–35 minutes |
What you need
- 3 thin white paper squares, about 15 cm on each side
- Child-sized scissors
- Pencil
- Glue stick and one sheet of blue paper, optional
- Removable tape for an optional window display
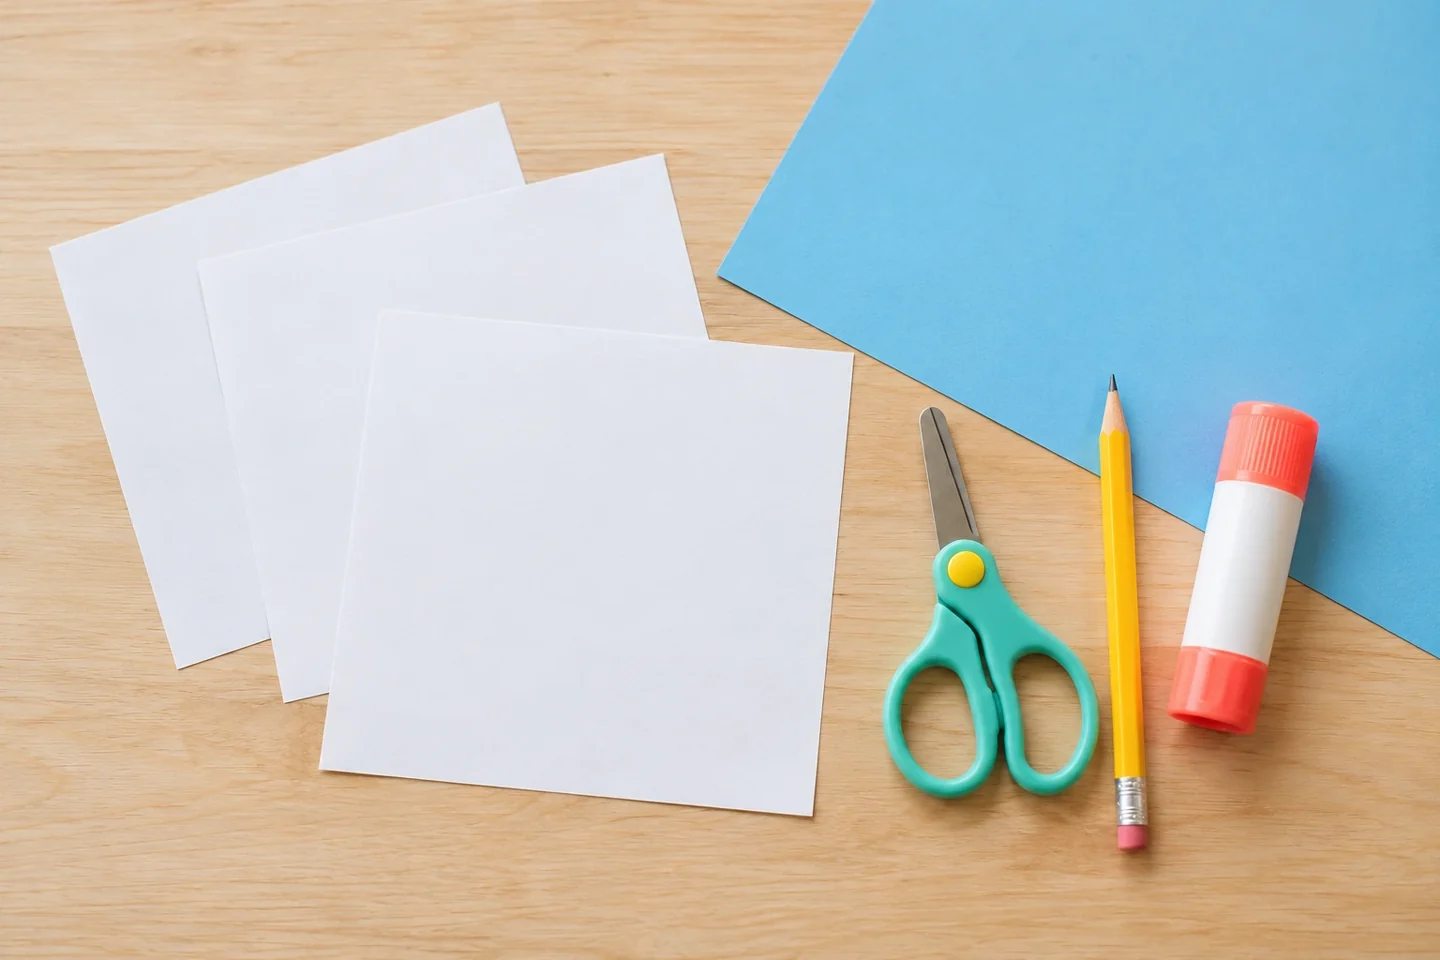
A creative winter invitation
A folded square opens into a surprise: repeated triangles, notches, and delicate spaces. This version uses two straightforward folds to make a fourfold paper pattern, which is easier for beginning cutters than a sixfold wedge. Make two or three designs and compare the results. Real snow crystals usually have six-sided structure; our fourfold decorations are playful paper patterns inspired by winter, rather than exact models of crystals.
Before you begin
Choose ordinary copy paper rather than thick card. An adult can cut the starting squares with a ruler nearby; children only need the finished squares, pencil, and scissors. Make one sample with just a single notch so the relationship between a cut and its repeated holes stays easy to see.
Before folding, locate the corners together. After folding, put a small pencil dot on the closed corner that must remain intact. This visual reminder is more helpful than repeatedly telling children not to cut too far. Keep a flat spare square nearby for showing how the folds open.
Make it step by step
- Prepare three squares. Cut squares from ordinary copy paper; thin paper makes the folded layers easier to cut. Keep a spare square for experimenting. Invite children to feel the difference between thin copy paper and heavy card before choosing the easier material. Clear a tray for little offcuts so the table stays comfortable to work at.
- Fold into a smaller square. Fold one square in half to make a rectangle, lining up the corners. Run a finger along the crease, then fold the rectangle in half again. You now have a small square with two folded edges meeting at a closed corner. Turn it so that closed corner points toward you. Leave that corner intact to keep the finished pattern connected.
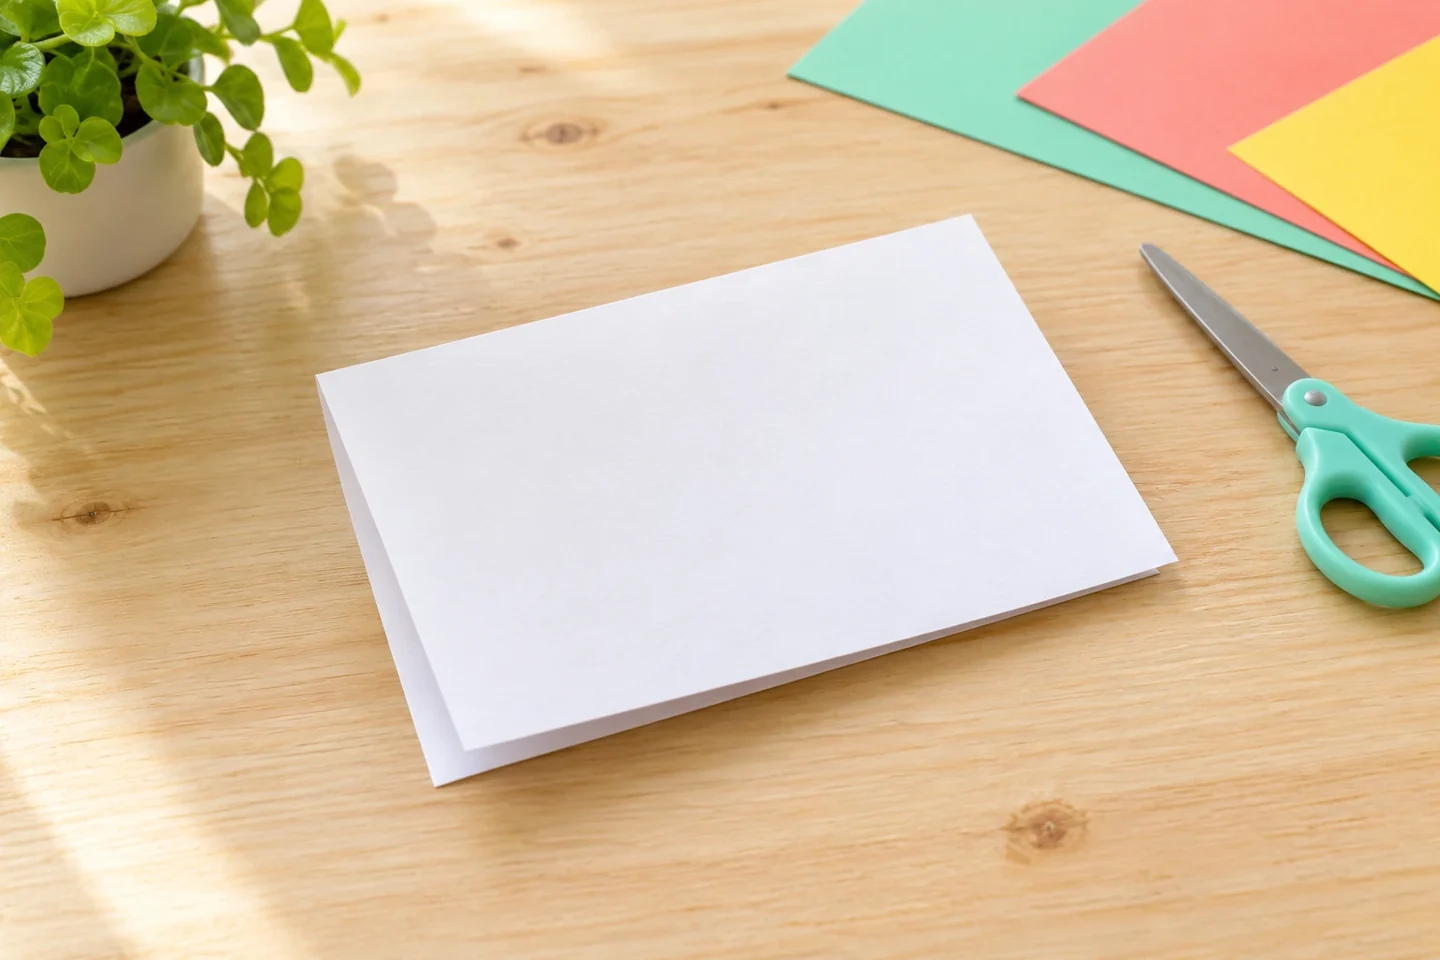
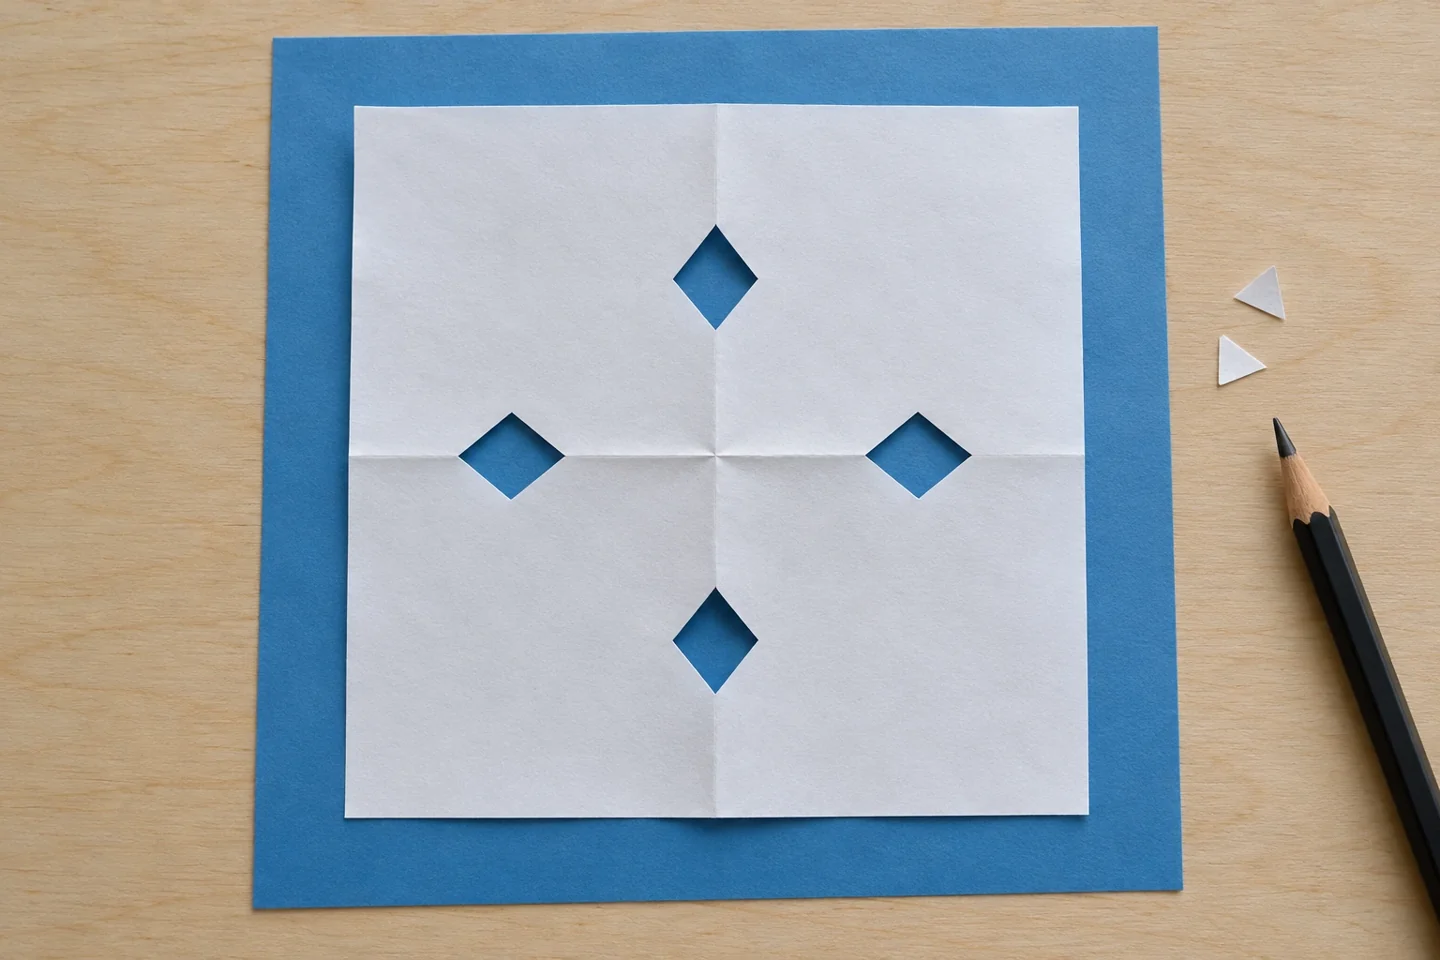
Line up the edges before making the second fold. - Draw two simple cut marks. Draw a small triangle halfway along one folded edge and a shallow semicircle along the other. Keep each mark about 1 cm deep and leave at least 1 cm of untouched paper between them. Beginners can make just one triangular notch. Do not cut all the way across the square: the uncut paper is what holds the decoration together. For a diamond-window version, try one small V notch on each folded edge instead of the semicircle.
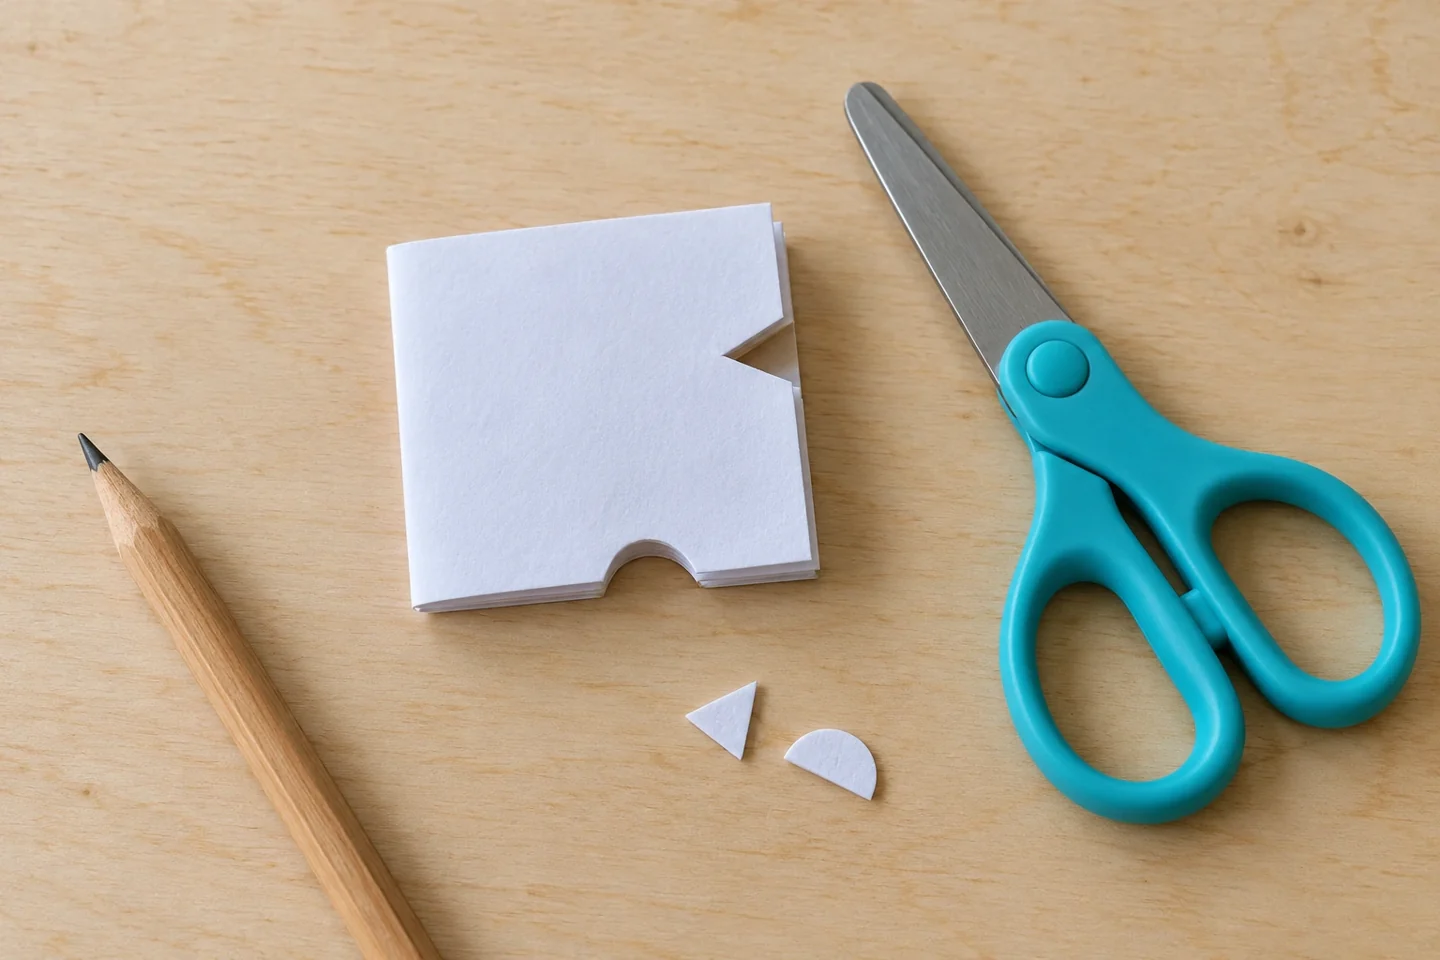
Keep the closed corner and broad connecting strips intact as you cut. - Cut, open, and notice. Cut slowly through the marked shapes while holding the paper away from the cutting path. An adult can help with the thickest fold. Open the layers gently, one fold at a time, and smooth the paper flat. Ask which hole came from which notch. The repeated shapes are a direct result of cutting several folded layers at once.
- Change one feature. On a second square, use the same folds but move one notch closer to the edge. Compare both designs before making a third. Changing one feature gives children a manageable experiment: they can see how its position changes the opened pattern. Mount favorite designs on blue paper or tape them to a window with small removable tape tabs.
Talk, notice, and explore
Ask, “How many copies of our triangle appeared when we opened the paper?” Touch each repeated hole and count together. Then ask which fold placed two holes opposite one another. Children can refold the decoration to retrace how one cut passed through several layers.
Compare the two designs and ask, “What changed when we moved the notch?” Keep the question tied to the actual shapes. If children ask about real snowflakes, explain that ice crystals develop six-sided structure, while this deliberately easier square-fold craft makes a fourfold paper pattern.
A useful final experiment is to cut the same notch on two squares of different sizes. Keep the depth similar and compare how much white paper remains around the hole. Children can describe a pattern as open, solid, delicate, or bold, noticing that paper size changes the overall appearance without adding more cutting steps.
Make it work at home or in a classroom
Give younger children a pre-folded square and one large notch to cut, or let them choose shapes while an adult cuts. Older children can predict where a hole will appear before opening the paper. In a classroom, demonstrate one fold at a time and use a sample with a colored dot marking the closed corner.
Helpful fixes, cleanup, and keeping the result
If the decoration breaks apart, a cut probably reached across a connecting strip. Place the pieces on backing paper and turn them into a collage rather than starting over. If cutting feels stiff, use thinner paper or a smaller stack of layers. Display dry paper away from heaters and keep spare patterns flat in a folder.