Winter & New Year’s
Make a Family Wishes Jar
 Facebook
 Pinterest
 X
X LinkedIn
 Reddit
 WhatsApp
 Telegram
 Bluesky
 Email
Email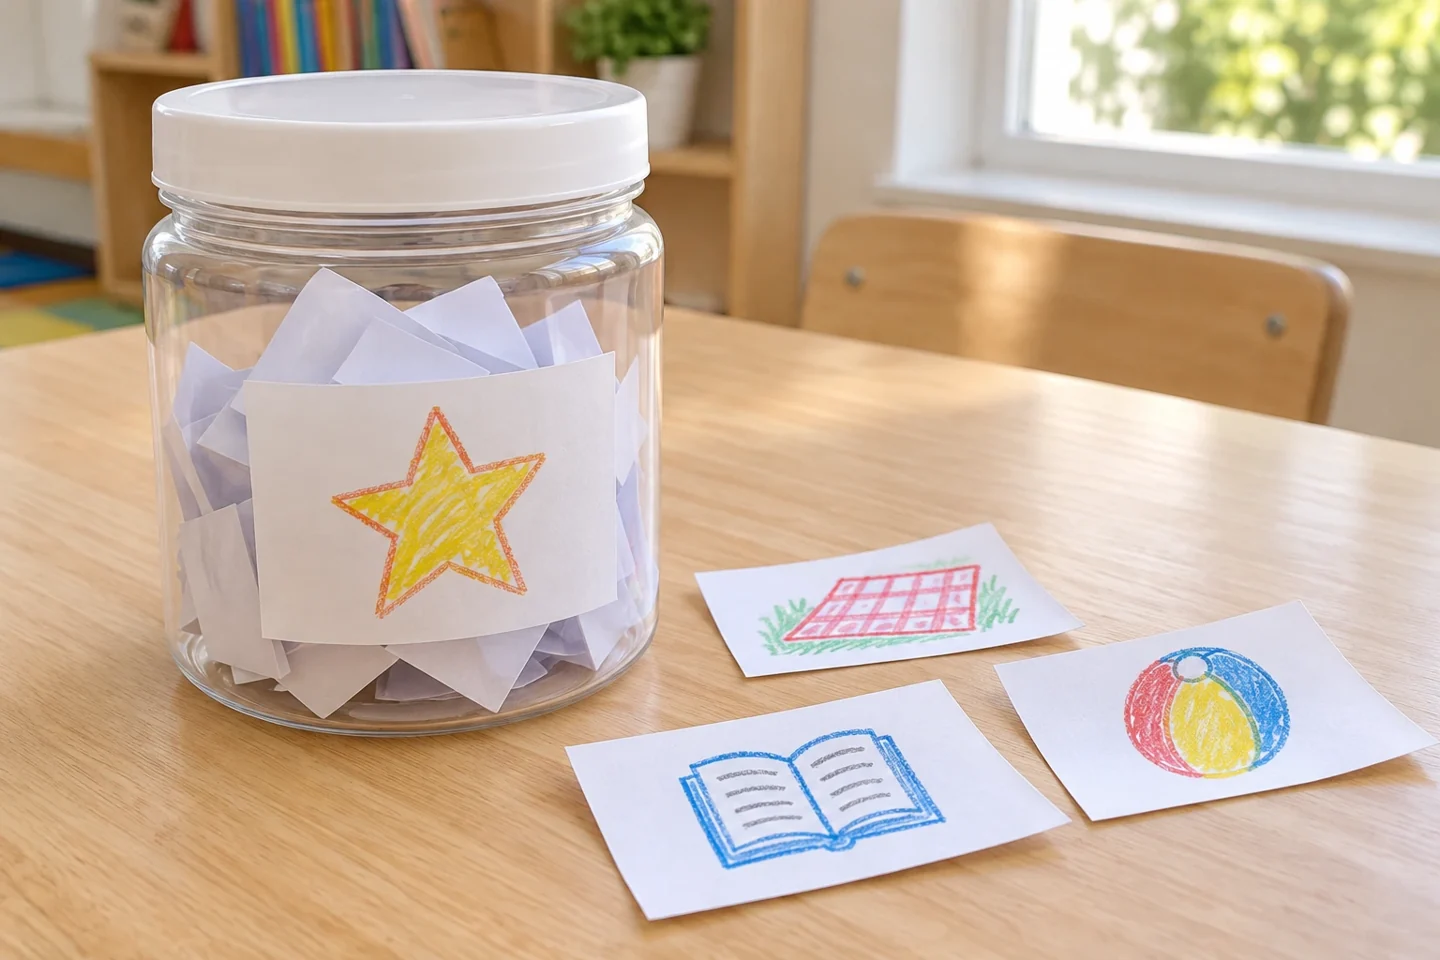
Your activity at a glance
| Suggested ages | 4–10 years |
|---|---|
| Activity time | 25–35 minutes |
What you need
- One clean plastic container with lid
- 2 sheets of paper
- Crayons or pencils
- Paper tape
- Scissors
- One paper label
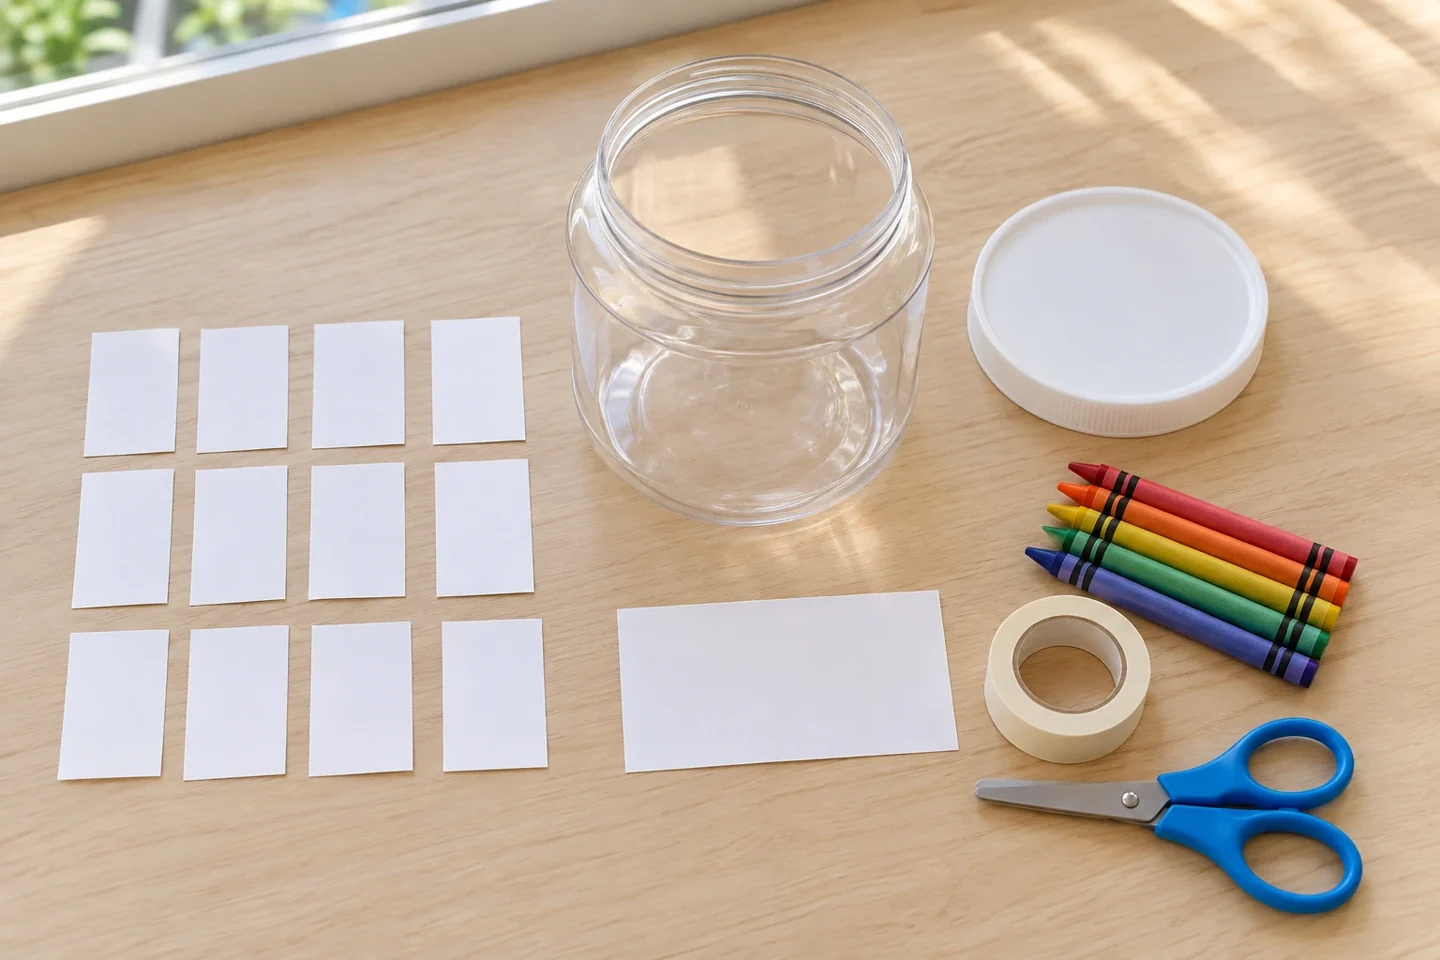
A creative winter invitation
A wishes jar collects little things people would enjoy doing together: rereading a favorite story, visiting a park, making pancakes, or learning a new drawing. Children can contribute pictures, words, or dictated ideas. Choose manageable possibilities so opening a slip later leads to a real conversation about planning, rather than a promise that every wish must happen.
Before you begin
Choose a plastic container with a wide opening so folded slips are easy to reach. Wash and dry it first. Prepare twelve large paper slips, keeping crayons nearby; a picture can communicate a wish just as well as a written sentence.
Before children contribute, decide which kinds of shared activities are realistic in your setting. Offer a few low-cost examples without making a list of required answers. Explain that drawing a wish starts a conversation about possibilities; it does not promise an immediate trip or purchase.
Make it step by step
- Choose the kind of wishes. Explain that this jar is for possible shared experiences, not a shopping list or a guarantee. Offer examples that fit your setting and budget, including quiet indoor choices. Ask what would make an ordinary afternoon enjoyable. Each person can suggest something without being required to share a private or emotionally important wish.
- Prepare roomy slips. Cut twelve rectangles about 8 × 12 cm. This gives space for a small picture and a few words. Place them with pencils in the center of the table. Start with two slips per person and leave the rest blank for later ideas. A limited starting set makes it easier to discuss each suggestion thoughtfully.
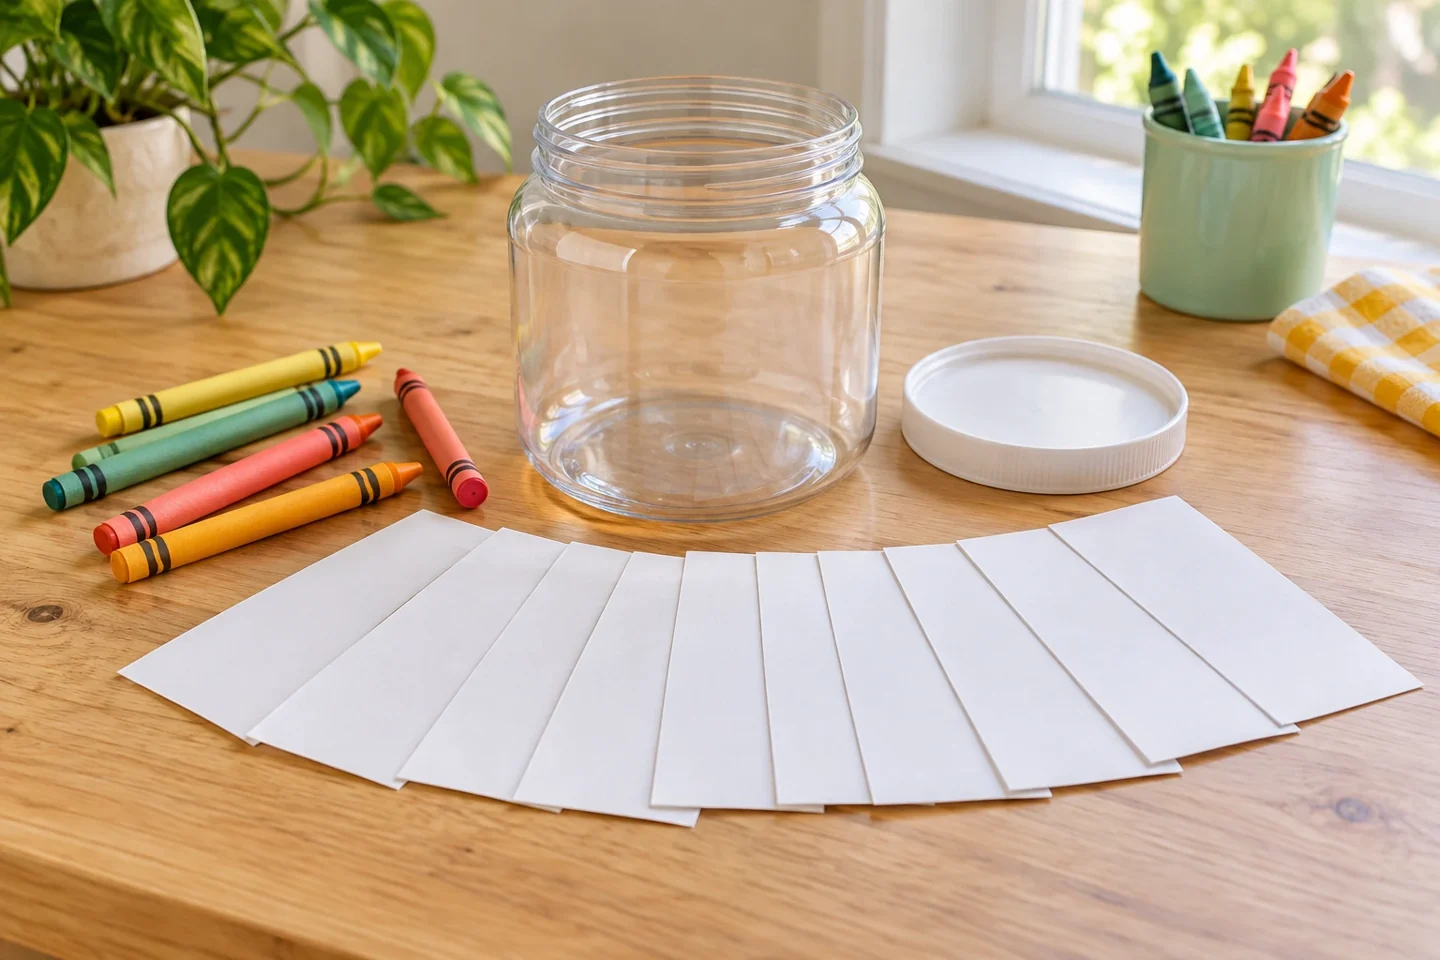
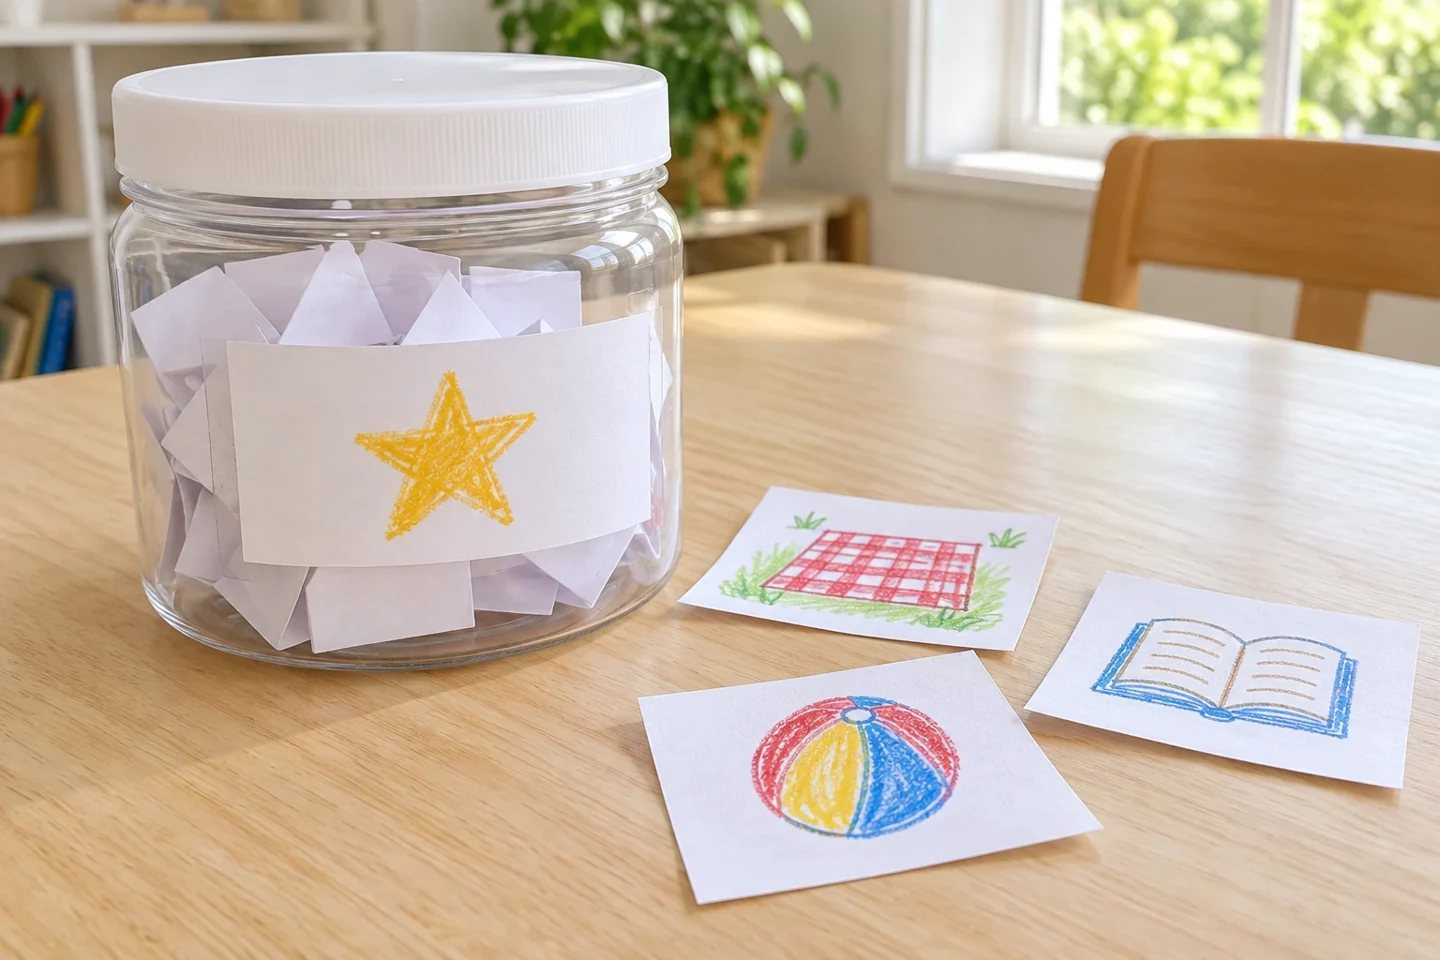
Set out twelve blank slips before drawing any wishes. - Draw a specific idea. Invite children to draw one activity per slip. Help turn a broad idea into something recognizable: instead of fun, try a living-room picnic or a dinosaur drawing afternoon. Write the child’s wording beneath the picture if they ask. Include enough detail that someone opening the folded slip later can understand it without guessing.
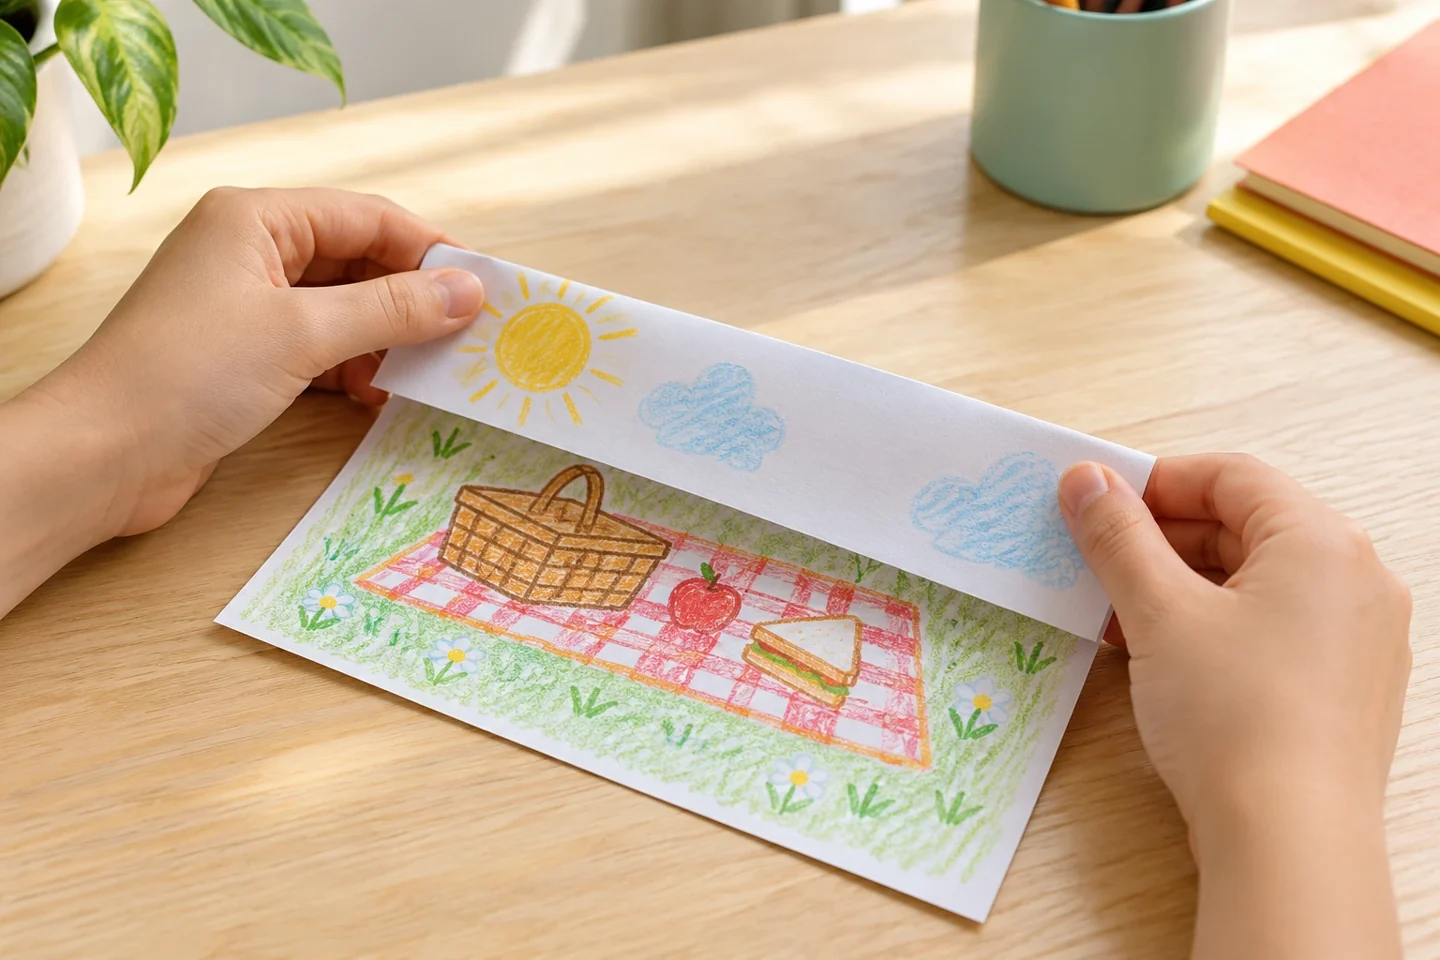
Draw one specific shared activity on each slip. - Decorate and fill the container. Cover a small label with cheerful drawings and tape it outside the plastic container. Fold each finished slip once, loosely, and place it inside. Avoid confetti or tiny decorations mixed with the slips; the pictures should be easy to retrieve. Set the jar somewhere children can see but where it will not become a spilling game.
- Choose one wish to plan. Draw one slip together and discuss what it needs: a suitable day, a few supplies, or another person’s agreement. If today is not a good fit, set the slip aside for planning and choose something simpler. After trying an activity, add a small drawing or sentence to its slip and keep completed wishes in a separate envelope.
Talk, notice, and explore
Ask, “What would we need to try this idea?” Children might name a picnic blanket, a library visit, or another person’s help. Write only the useful planning details on the back. A wish becomes easier to act on when its first small step is clear.
After an activity, ask, “Which part would you like to remember?” Add a tiny drawing or dictated note to the original slip. Compare an imagined plan with what actually happened, allowing the child to describe changes without deciding that a different result was a failure.
Try grouping a few slips by what they need: activities possible at home, ideas requiring an outing, and projects needing preparation. This is not a ranking of whose wish is best. It simply helps children see why one idea can happen soon while another needs planning. Return all three groups to the same jar afterward.
Make it work at home or in a classroom
Younger children can choose between two concrete suggestions and draw their favorite. Older children can add a supply note or estimate how long an outing may take. In a classroom, make a shared activity jar with options the teacher has reviewed first; keep personal family wishes in individual take-home containers.
Helpful fixes, cleanup, and keeping the result
If wishes are too expensive or difficult, preserve the idea and look for a smaller version together. A trip wish might become a map-making activity while a future outing is considered. Keep the jar optional and lighthearted. Store finished slips dry, refresh the choices occasionally, and recycle ideas that no longer interest the group.