Winter & New Year’s
Make New Year’s Celebration Crowns
 Facebook
 Pinterest
 X
X LinkedIn
 Reddit
 WhatsApp
 Telegram
 Bluesky
 Email
Email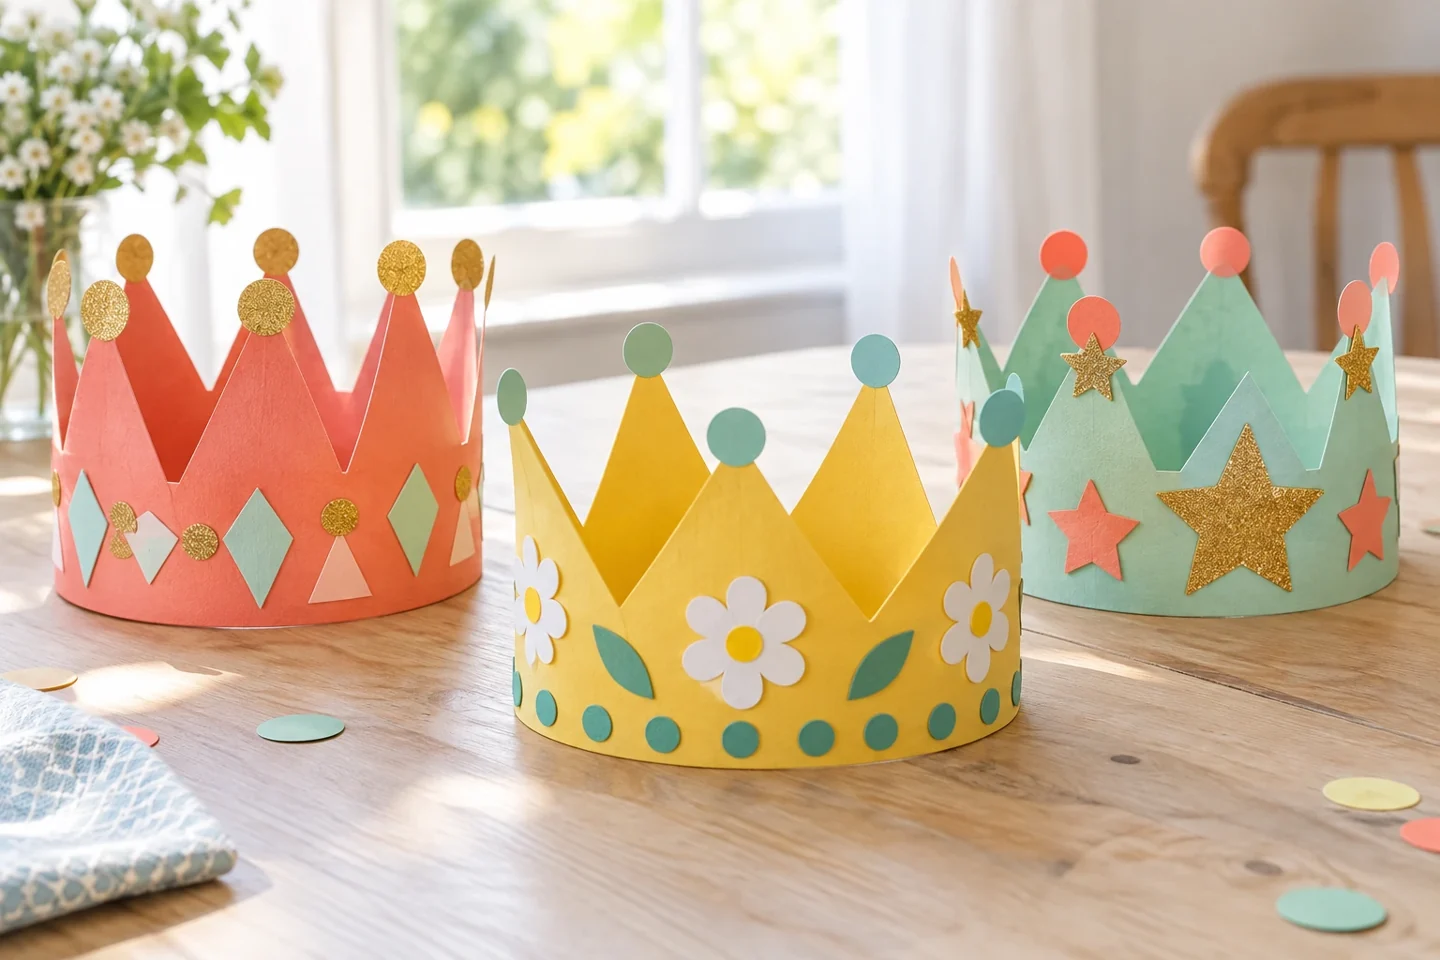
Your activity at a glance
| Suggested ages | 4–9 years |
|---|---|
| Activity time | 25–35 minutes |
What you need
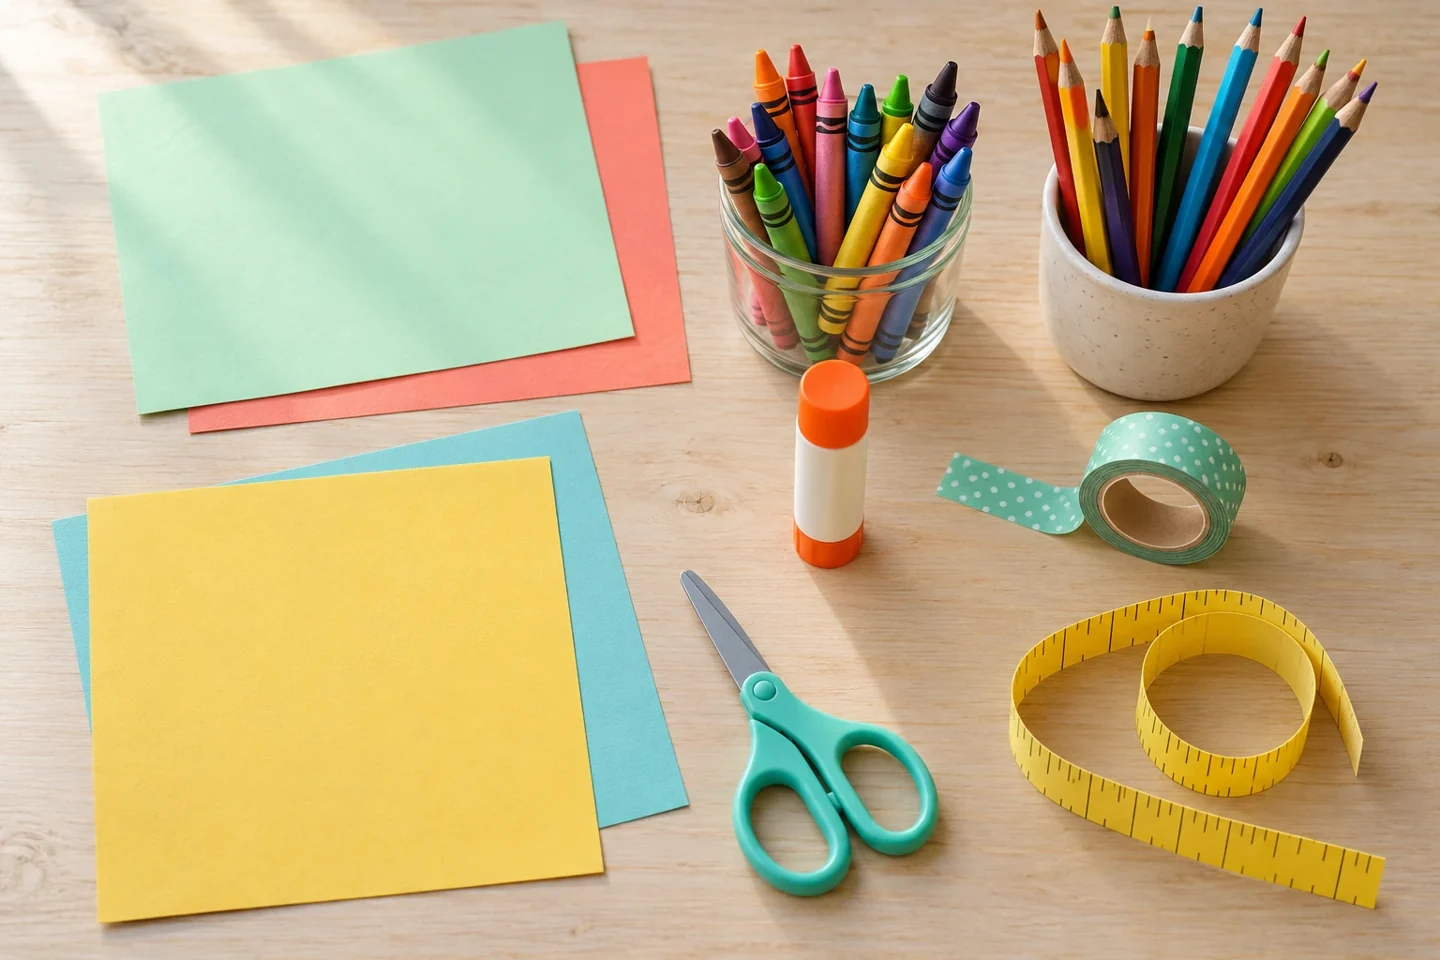
- 2 sheets of colored paper per child
- Crayons or colored pencils
- Glue stick
- Paper tape
- Scissors
- Flexible paper measuring strip
A creative winter invitation
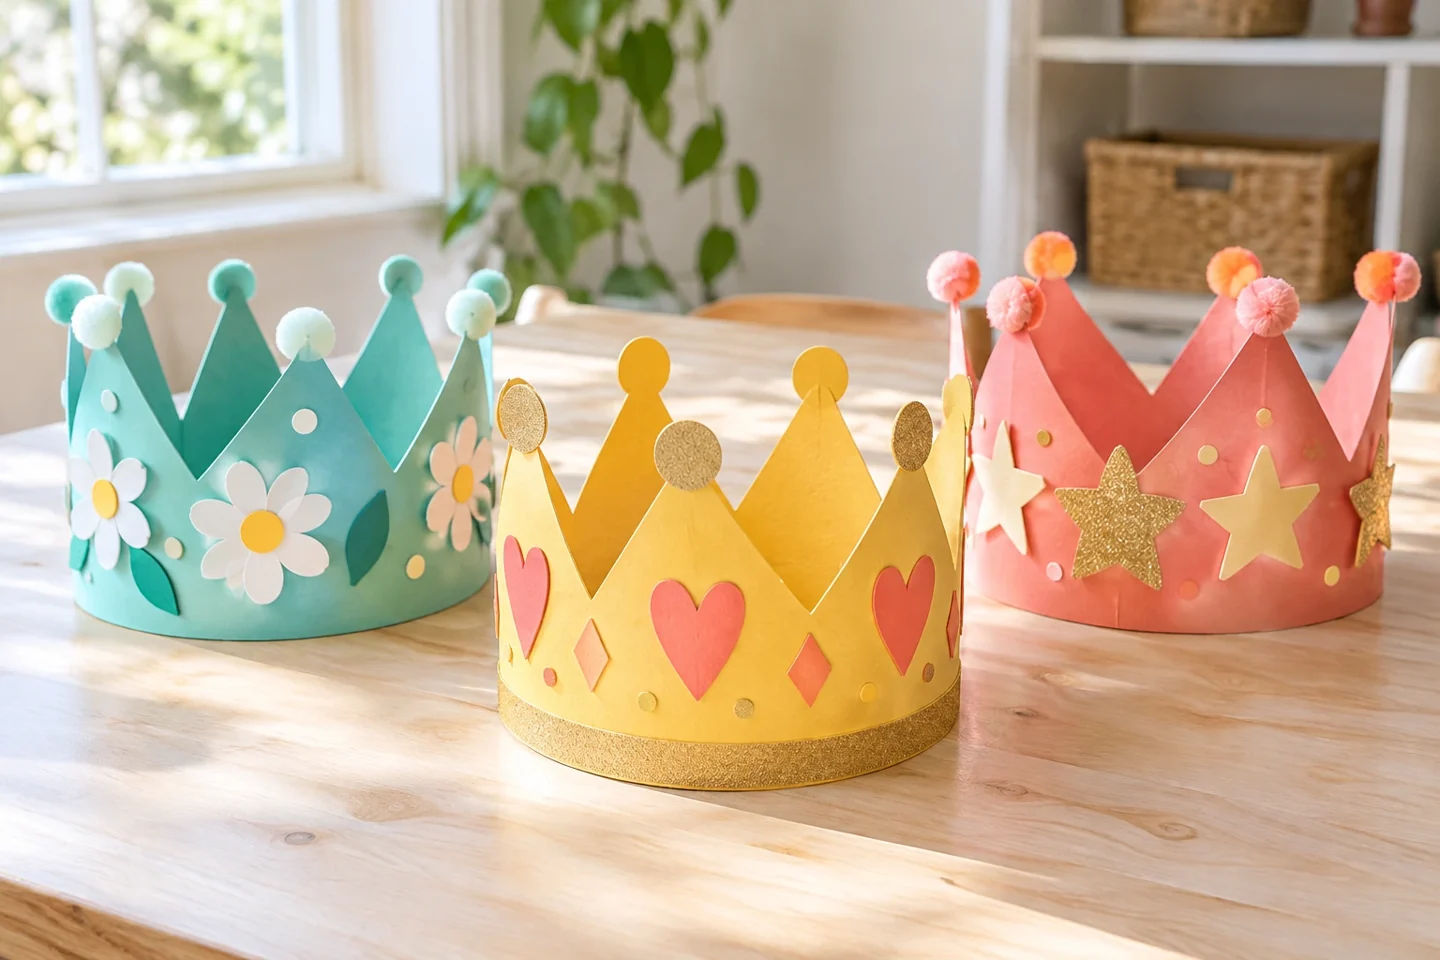
A paper crown gives children a cheerful way to design their own celebration accessory. Some may choose stars and zigzags; others may draw something they hope to learn or enjoy. Use a wide, comfortable band and light paper decorations so the crown feels pleasant to wear for a short daytime celebration.
Before you begin
Prepare enough paper for a wide band that overlaps comfortably around the child’s head. Measure with a separate plain strip, removing it before any cutting or joining. Keep decorations light and flat, and offer a tabletop crown version to children who prefer not to wear one.
Lay the unjoined band flat and mark the plain overlap zones at its ends. Set out large paper stars or circles and crayons. A straight top edge works as well as points, so cutting can be simplified without taking away the child’s design choices.
Make it step by step
- Measure a comfortable band. Wrap a plain paper strip loosely around the child’s head, above the ears, with their agreement. Mark where the ends overlap and remove it before cutting or joining. Add about 3 cm for overlap. A crown should sit comfortably without being pulled tight; children can also choose to decorate it for display instead of wearing it.
- Prepare the crown shape. Join paper strips to reach the measured length, making a band about 5–7 cm high. Draw a simple zigzag top or keep the edge straight. Cut broad points rather than narrow sharp-looking ones. Put the unjoined band flat on the table for decorating, which is easier than drawing on a finished circle.
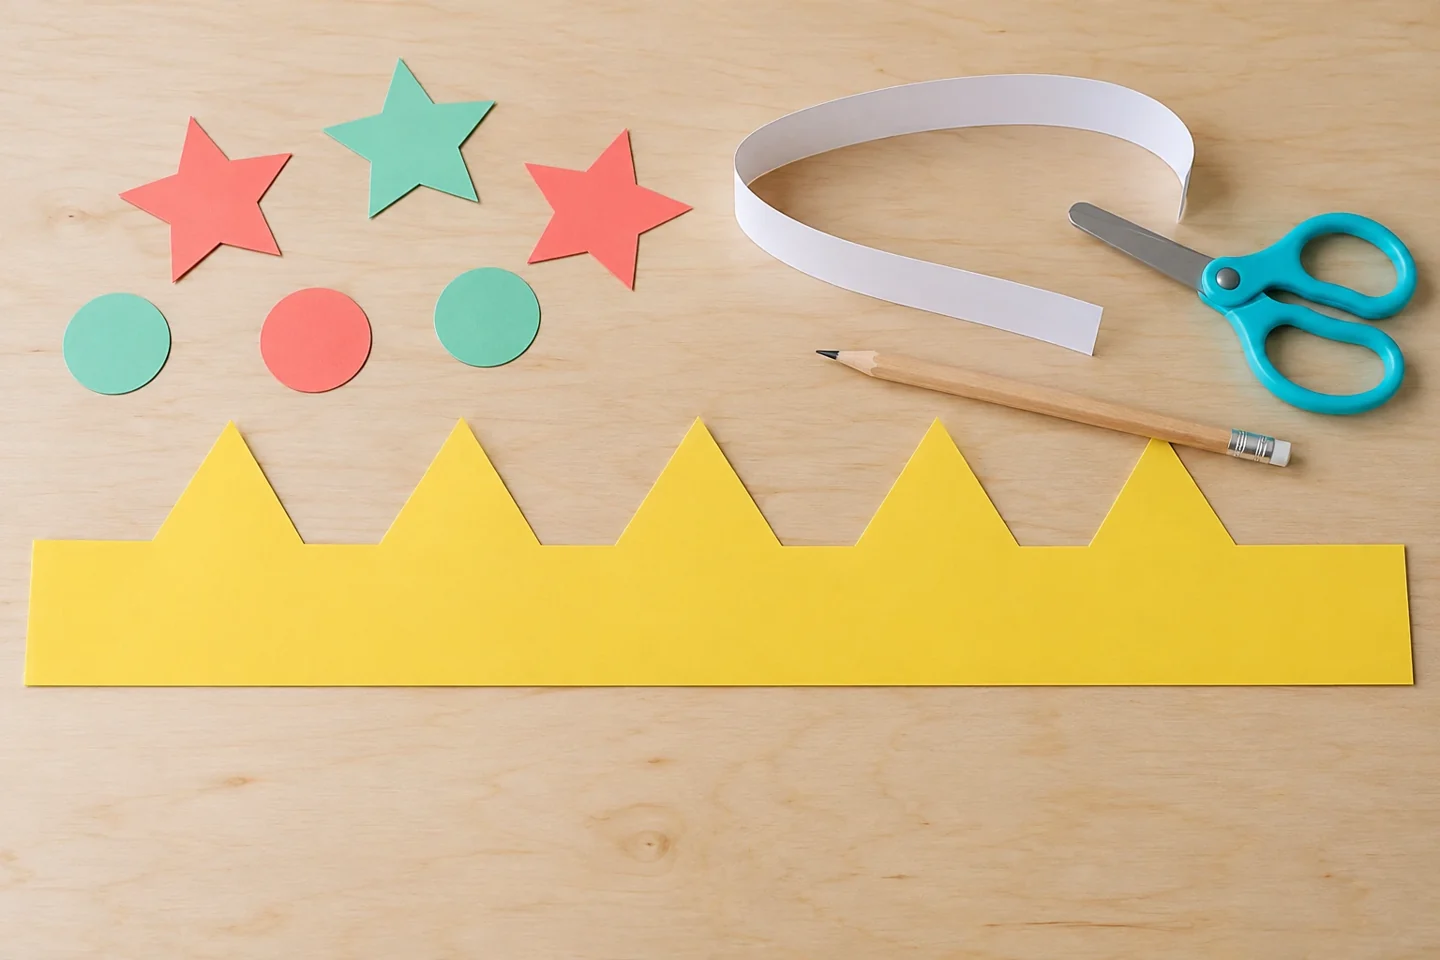
Decorate the band while it is flat, leaving both overlap ends plain. - Choose a pattern or wish. Invite children to repeat two shapes or colors around the band, then add one personal drawing. A wish might be learning to ride a bike or making more time for stories. No one needs to explain a private wish aloud. Leave a plain overlap area at both ends to make the join reliable.
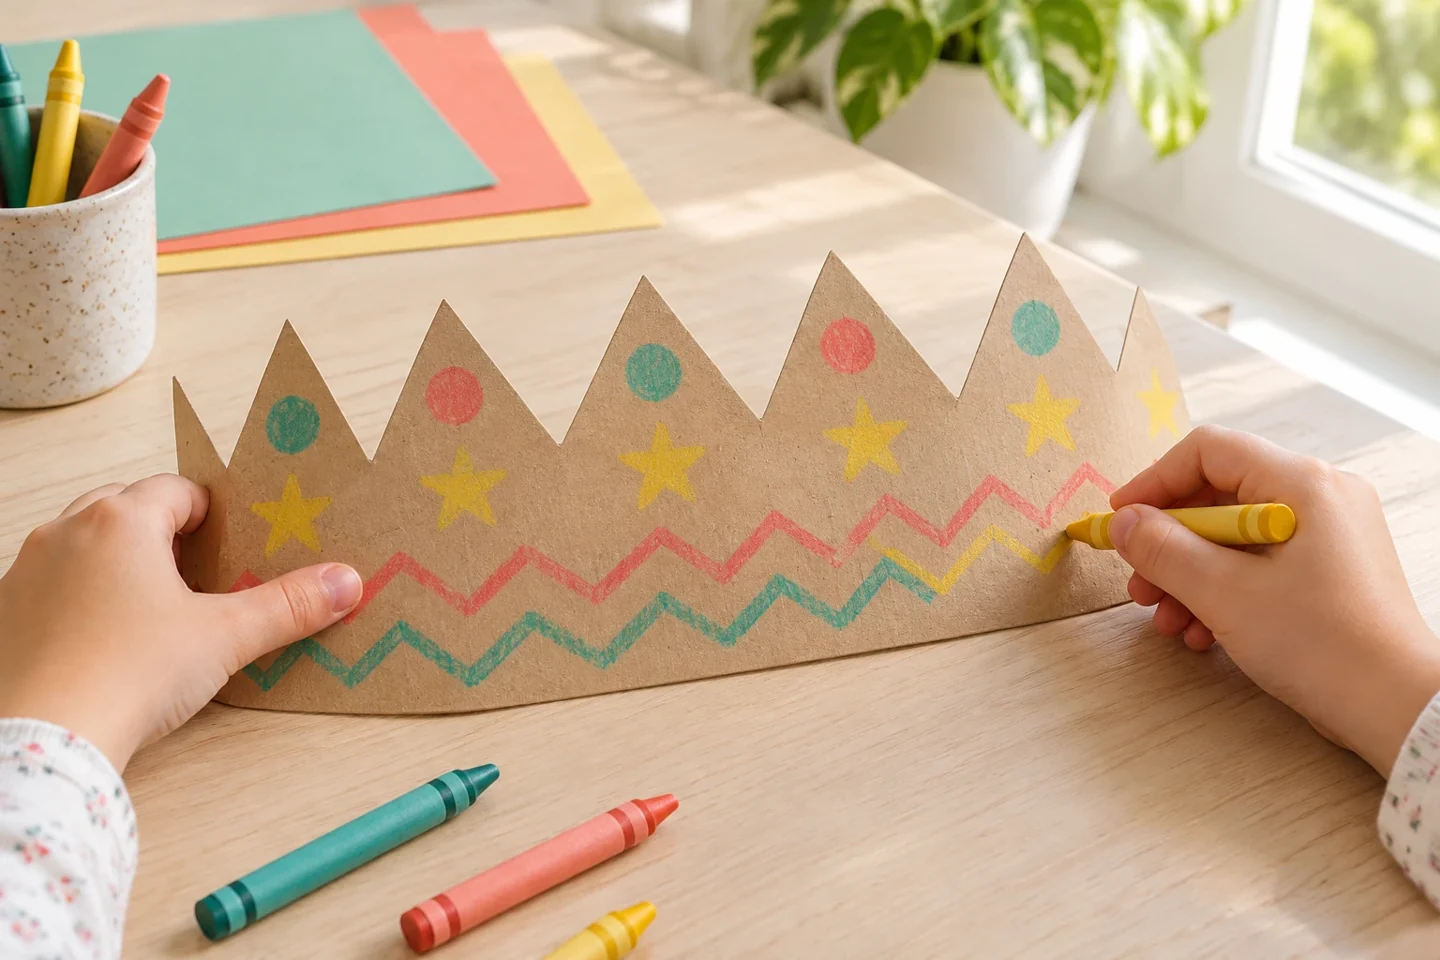
Draw a repeated border before joining the band. - Add light decorations. Glue on a few paper stars or circles, pressing each flat. Keep decoration inside the band edges so pieces do not poke faces or catch easily. Avoid loose glitter, heavy ornaments, and long hanging ribbons. Give the glue a few minutes to set before curving the band into a circle.
- Fit and celebrate. An adult joins the marked overlap with tape on the outside and a smooth small piece inside if necessary. Check the fit once more and adjust rather than squeezing the crown onto the head. Display crowns for a photo or wear them briefly during music, a story, or the planned countdown. Remove them before active climbing or rough play.
Talk, notice, and explore
Ask, “What comes next in your border?” Point to the repeated shapes or colors and let the child explain the rule. If the sequence changes halfway along, they can describe the new choice rather than being required to correct a decorative design.
If children add a wish picture, ask whether they want to tell you about it or keep it private. A shared explanation can lead to one manageable next step, such as choosing a book about a new interest. The crown can celebrate an idea without promising a particular outcome.
For a second design idea, turn the band over before joining and decorate the reverse with a different border. Children can choose which side faces outward for the celebration. Make sure both overlap zones stay plain, and compare how the same crown shape looks with two different arrangements of color or repeated marks.
Make it work at home or in a classroom
Younger children can decorate a prepared band with large paper shapes. Older children can design a repeating border or measure their own band with adult help. For a class, prepare extra long bands and fit them individually. Children who dislike headwear can make a crown for a toy or a tabletop display.
Helpful fixes, cleanup, and keeping the result
If the crown slips, increase the overlap to make the band a little smaller; if it presses, open and rejoin it wider. A torn join can be reinforced with a fresh paper strip on the inside. Let crowns dry fully and stack them loosely without crushing the points. Recycle damaged crowns or save the flat decorated band in a memory folder.