Winter & New Year’s
Warm and Cool Colors Winter Art
 Facebook
 Pinterest
 X
X LinkedIn
 Reddit
 WhatsApp
 Telegram
 Bluesky
 Email
Email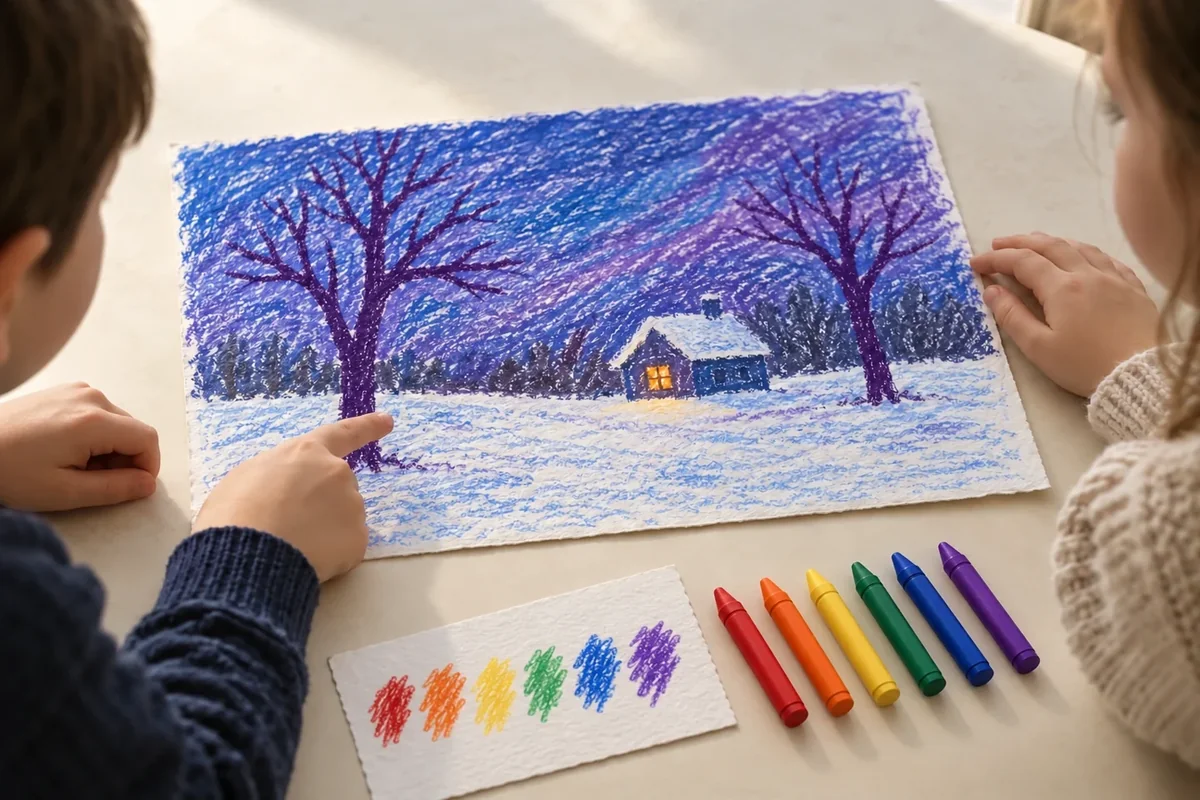
Your activity at a glance
| Suggested ages | 5–10 years |
|---|---|
| Activity time | 30–40 minutes |
What you need
- One sheet of white drawing paper
- Crayons in red orange yellow green blue violet
- Pencil
- One scrap sheet for color tests
- Paper towel for table cleanup
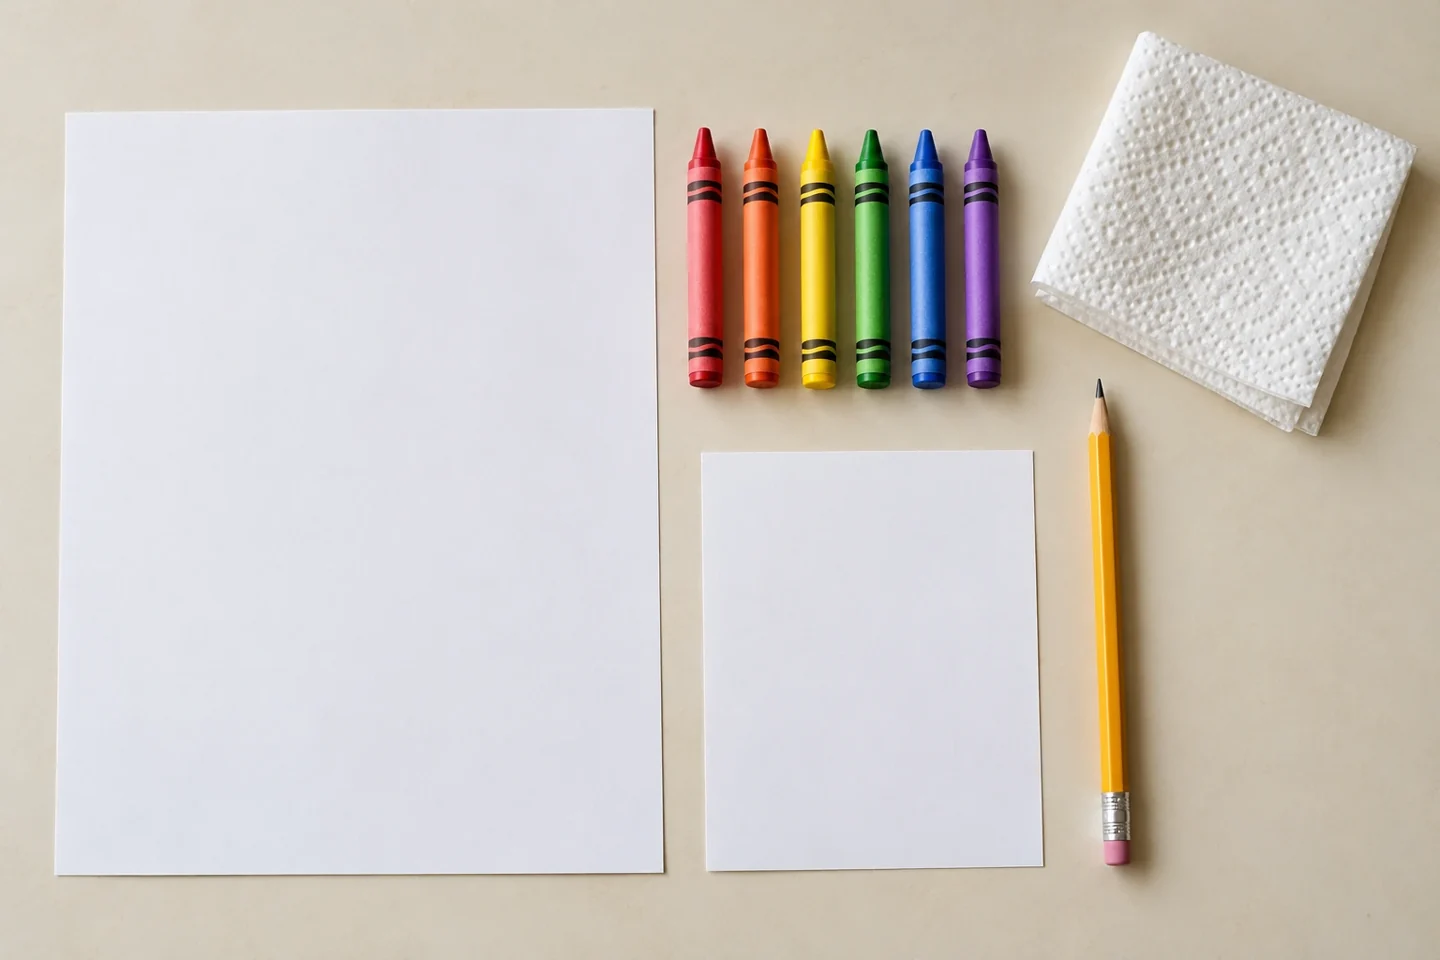
Make color choices that tell a winter story
A winter scene can feel quiet, lively, or glowing depending on the colors children choose. In this drawing activity, blue, green, and violet sit beside yellow, orange, and red. Children use these familiar warm and cool color groupings to make contrasting areas, then describe what they notice without being told that every color must create the same feeling for everyone.
Before you begin
Arrange the six crayons in two groups and put scrap paper beside the drawing sheet. Children should be able to test each color before committing to the picture. A simple outline with large open areas is easier to color than a scene crowded with tiny details.
Describe warm and cool as familiar art groupings, using associations such as sunlight and shade rather than claiming colors have a physical temperature. Let children choose whether their winter scene includes snow, rain, bare ground, or evergreen plants. Their local experience gives the drawing a useful starting point.
Make it step by step
- Explore two color groups. Arrange red, orange, and yellow together, and blue, green, and violet together. Describe these as commonly used warm and cool groupings in art. Ask children what the colors remind them of. A blue object is not necessarily cold to touch; these words describe visual associations, not a temperature measurement.
- Test the crayons. Make a small patch of each color on scrap paper using light pressure, then try pressing more firmly. Compare how white spaces and darker layers change the patch. Children can overlap two colors if they want to explore the result, but this project does not depend on blending crayons into a completely new color.
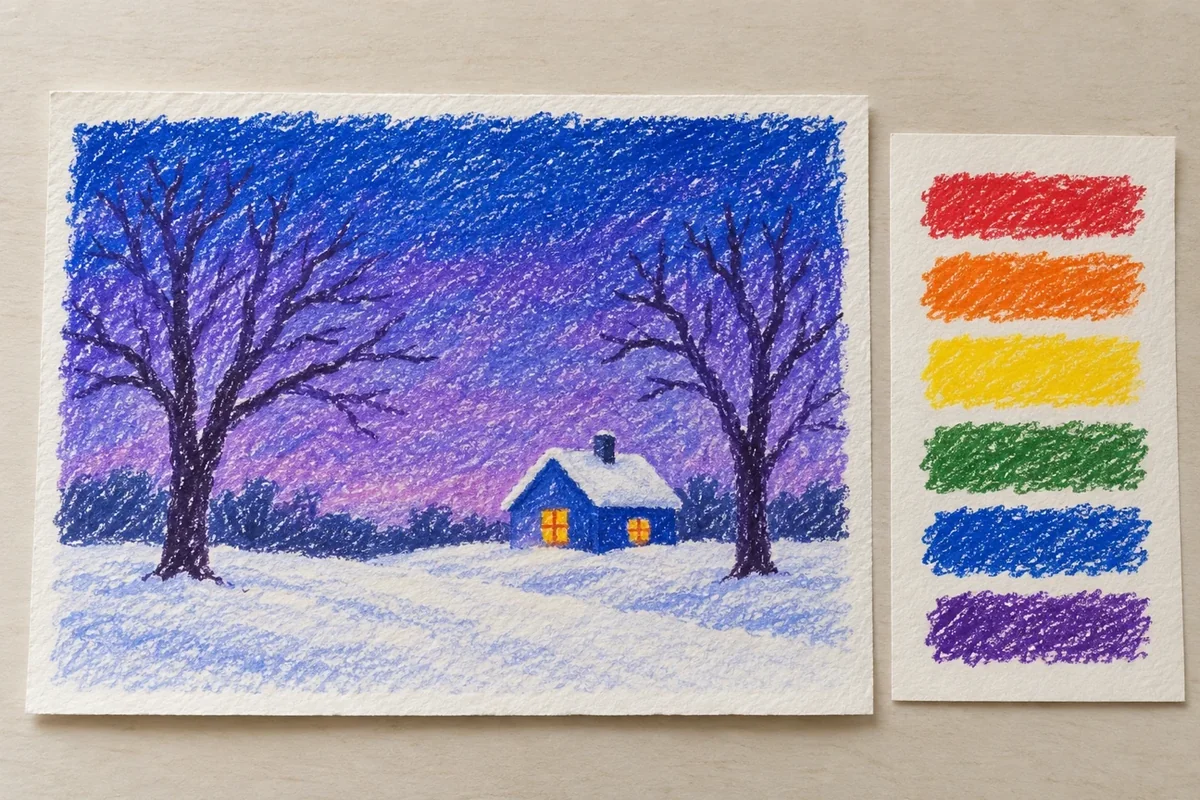
- Draw a simple winter scene. Sketch a horizon about halfway down the page, two bare trees, and a small house or another chosen landmark. Keep shapes large enough to color comfortably. Winter does not need to mean snow everywhere: children can include bare ground, puddles, or evergreen trees that match the kind of winter they know.
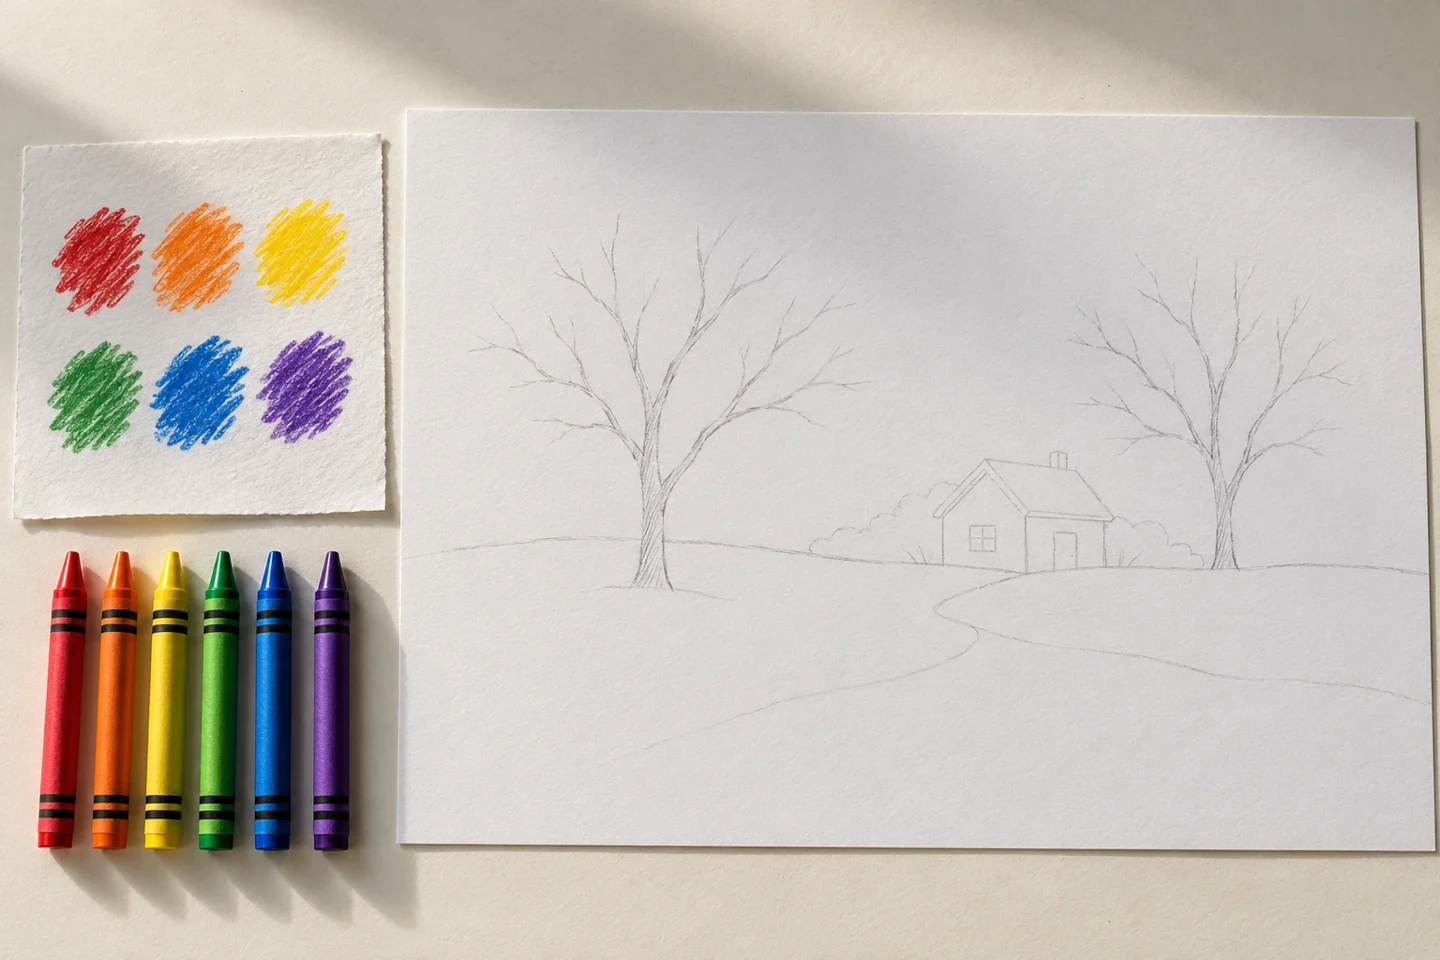
Test the color groups and sketch a few large winter shapes. - Choose contrasting areas. Color the sky with a few cool shades and give one part of the scene warm colors, perhaps a sunset strip or a house window. Leave some paper white if desired. Encourage deliberate choices rather than filling every shape by habit. Ask where the viewer’s eye goes when a bright orange shape sits beside blue.
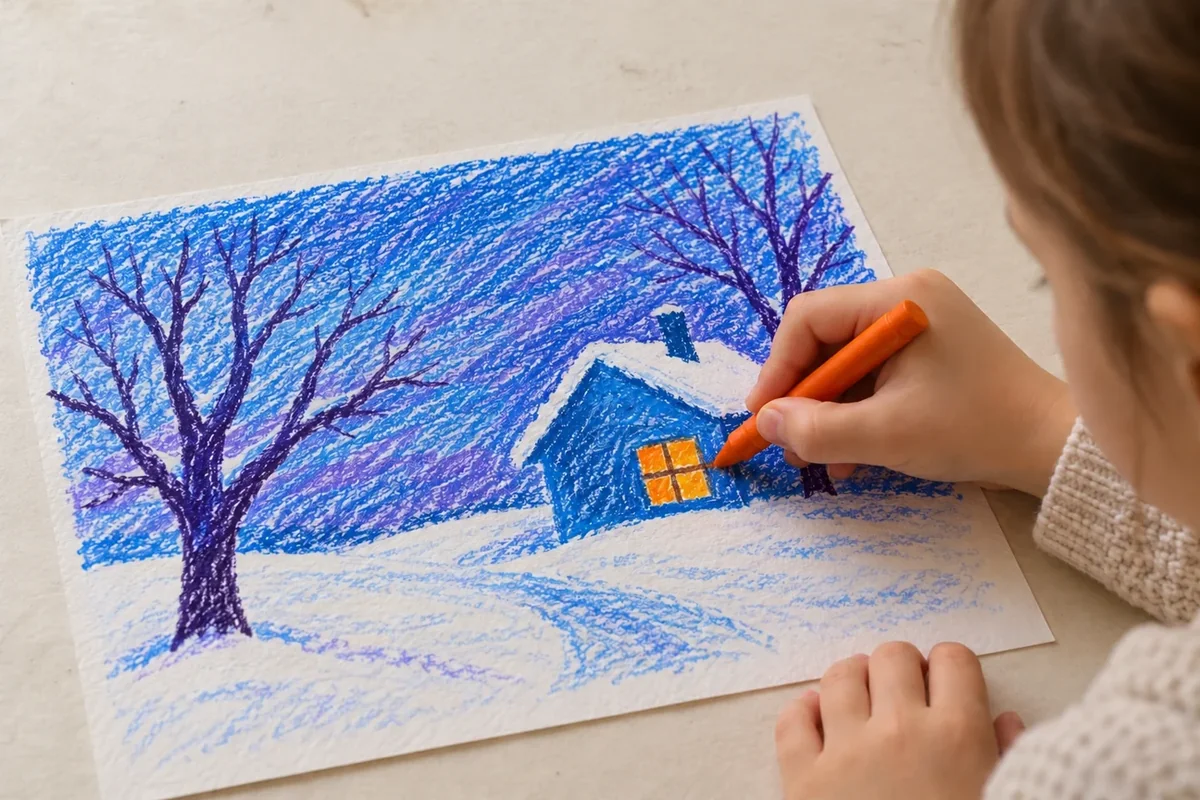
An orange window beside a blue wall makes the contrast easy to notice. - Compare and describe. Place the finished picture beside the color-test page. Invite children to describe one choice and one effect they notice. They might say the window stands out or the violet sky looks quiet. A second small sketch can reverse the groups, using a warm sky and a cool building, to see how the contrast changes.
Talk, notice, and explore
Ask, “Where does your eye go first?” Look at the orange window against the blue sky or another contrast the child chose. Try covering that warm area briefly and compare the picture. This helps children describe a visual effect using something they can actually see.
Invite two children to explain different choices without ranking the pictures. One might use a warm sky while another keeps the sky cool. Ask what changes when the groups trade places, and notice that color associations can differ between viewers.
For a quick comparison without making a whole second drawing, color two small house-window rectangles on scrap paper. Surround one with blue and the other with orange. Place them beside each other and ask which contrast seems stronger. Children can point to the difference even if they do not yet have art vocabulary for it.
Make it work at home or in a classroom
Younger children can color a large horizon-and-tree outline with three chosen crayons. Older children can experiment with lighter and darker pressure or compare two compositions. At school, display several works together and ask about choices without ranking them. Offer chunky crayons or a larger page where fine detail is difficult.
Helpful fixes, cleanup, and keeping the result
If the drawing becomes crowded, focus on one large warm shape and one cool background area. If a crayon layer is too dark, use a fresh section of the page rather than scrubbing the paper. Sweep crayon crumbs into a bin and store drawings flat. Keep the test page with the artwork as a record of experimentation.