Learning Through Play
Make a Summer Story Map: A Drawing and Storytelling Activity
 Facebook
 Pinterest
 X
X LinkedIn
 Reddit
 WhatsApp
 Telegram
 Bluesky
 Email
Email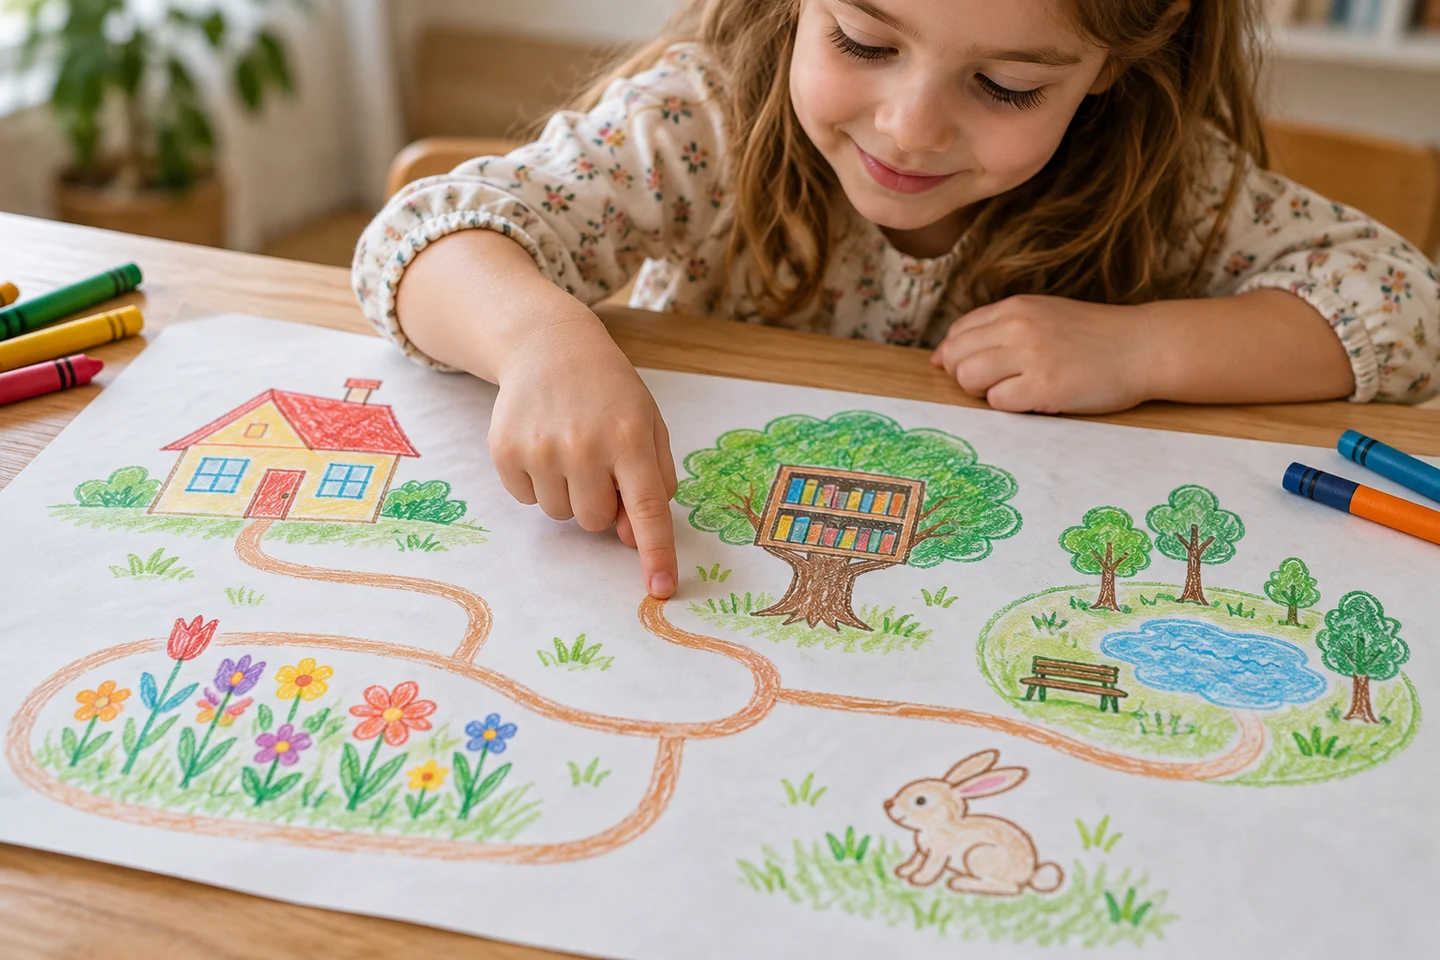
A path through a park can lead to a moon garden, a library, or a place that exists only in a child’s imagination. A story map turns those destinations into a drawing your child can follow while telling an adventure.
Real outings, pretend journeys, and a mixture of both work well. A few connected places are enough to give a story its beginning, middle, and ending.
At a glance
| Detail | Plan |
|---|---|
| Suggested ages | 4–9 |
| Preparation | About 5 minutes |
| Activity time | 25–40 minutes |
| Group size | Individuals or pairs |
| Mess level | Low |
What you need
- One large sheet of paper, around 12 × 18 inches.
- Crayons or pencils.
- Optional writing paper for recording the story.
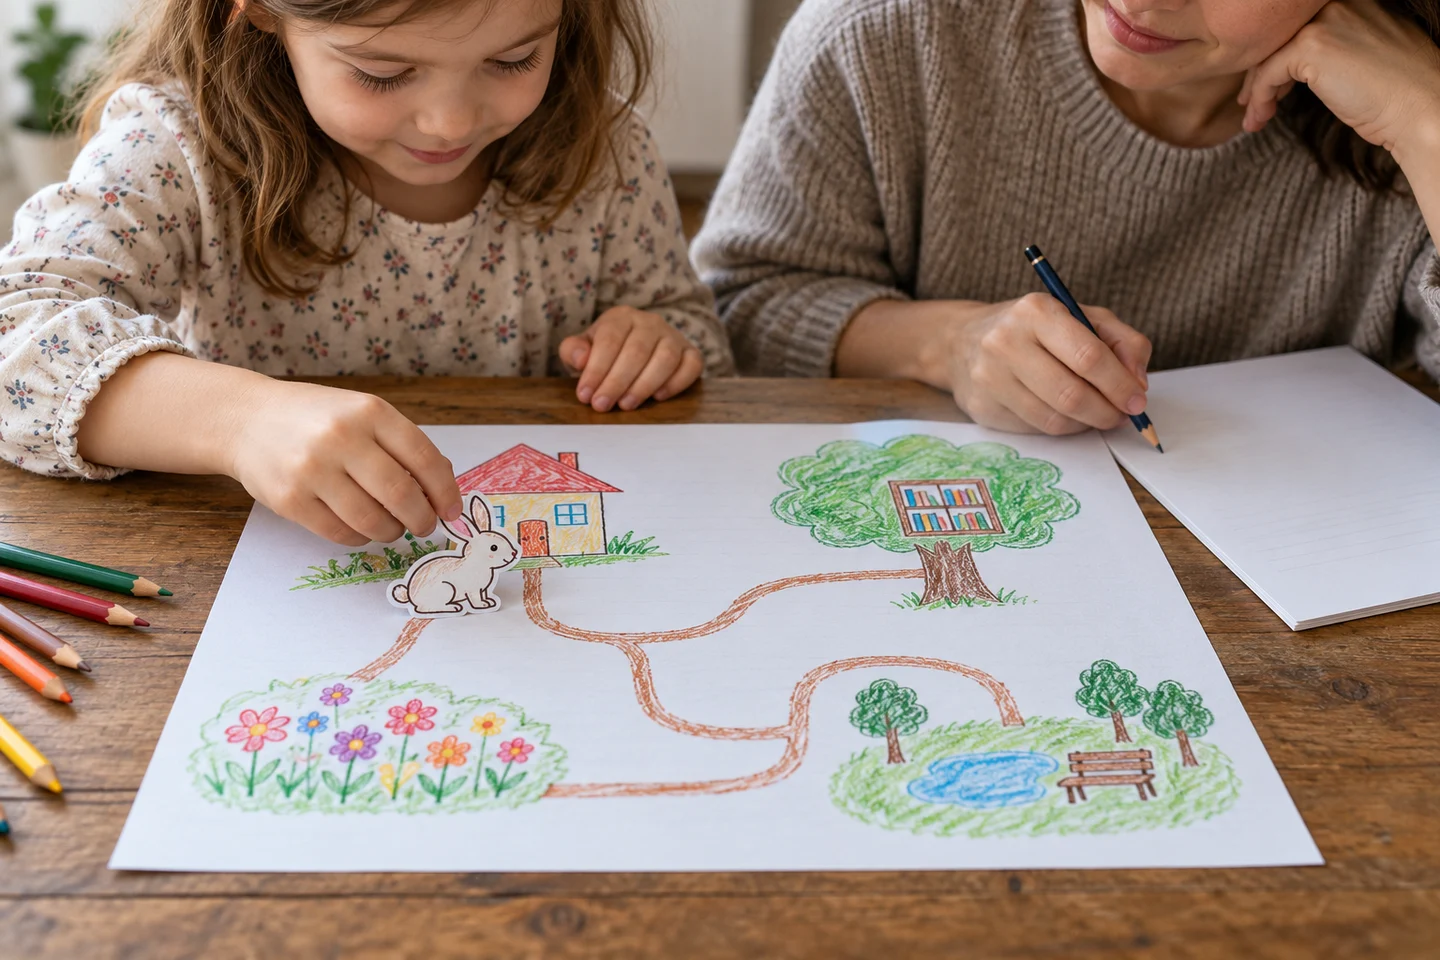
- An optional large paper character marker.
For 24 children, provide 24 sheets plus spares and shared table supplies. Use a finger or flat paper marker to follow the route rather than a tiny figure when younger children are nearby.

Get ready
Ask who will travel and what they want to do. Perhaps a bird is looking for a quiet picnic place or a child wants to deliver a drawing. Choose three or four destinations and leave space between them for paths. This is a story map, so places can be imaginary and the drawing need not be geographically accurate.
Draw a journey
1. Make the places recognizable
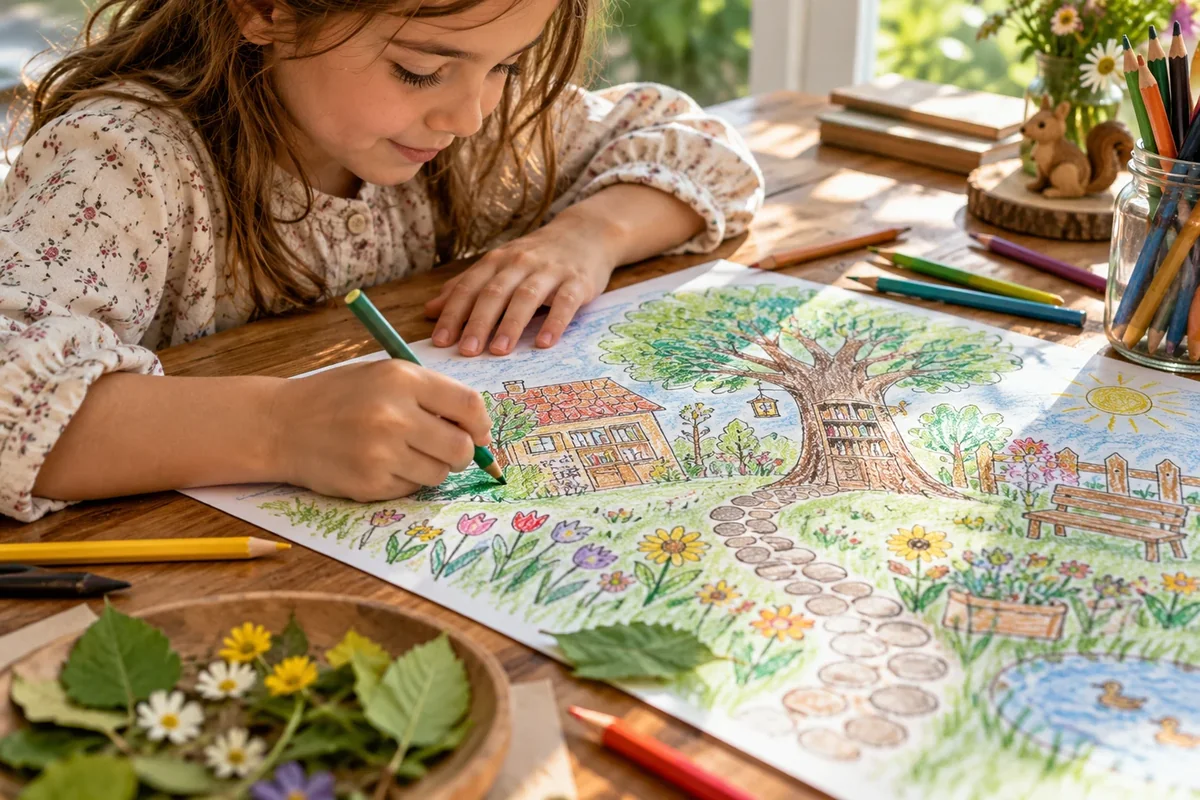
Add a few details to each destination: shelves for a library, a bench for a park, or stars for a moon garden. Let the child explain what the places are. Adults can add labels from dictation.
2. Connect a route
Draw a path from the starting place to the next destination, then continue. Follow it with a finger to check where it goes. Numbers can show the order if useful, but clear paths may be enough.
3. Add a surprise
Ask what changes along the way. A bridge might be closed, a picnic basket missing, or a friendly character waiting for help. Draw a small clue beside the place where it happens.
4. Choose a response
What does the character try? Add a new path or destination if their decision changes the journey. A map can grow while the story develops.
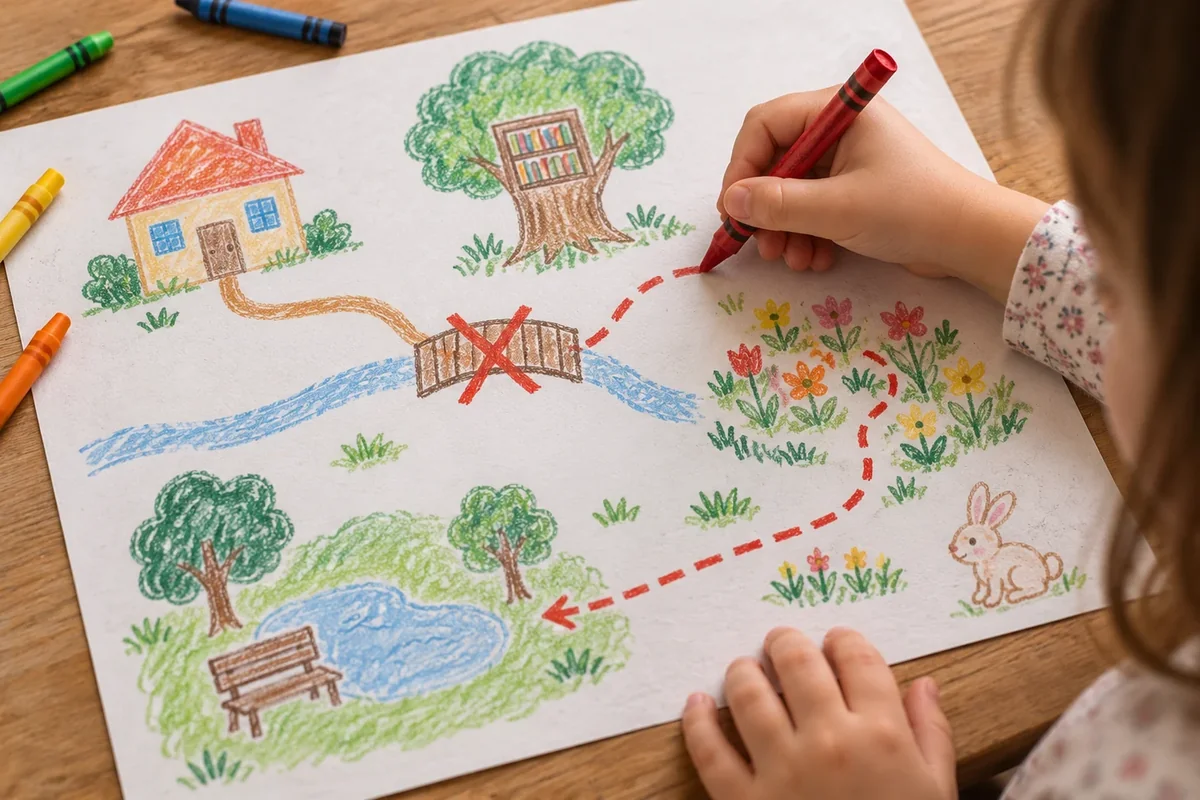
5. Tell the whole adventure
Follow the route and explain the beginning, events, and ending. A grown-up can write the child’s words on separate paper. Pause for questions from the listener when a connection is unclear.
6. Add one helpful detail
Ask a question such as “How did they find the basket?” Invite an extra drawing or sentence if the child wants to add it. A first telling can be a starting point for another version.
A starting story
A bird leaves home to deliver a drawing to a friend. At the park, the usual bridge is closed, so it follows a path past the library. There it meets the friend, who is choosing a book. The drawing has found its recipient, and the journey has a clear ending.
What children can explore
Mapping connects position, sequence, and storytelling. Ask, “What happened at this stop?” or “Why did the character take this path?” A listener can use the drawing to follow the child’s ideas.
At home and in the classroom
At home, share a remembered outing or invent a journey together. In class, work in pairs with one storyteller and one listener, then switch. A gallery of maps can invite children to describe their own routes without needing to write full stories.
Make it work for your group
Start with two destinations, use prepared place pictures, or offer a broad marker to trace the route. Older children might add a branching decision and tell both possible endings.
Helpful fixes and cleanup
Confusing paths? Add arrows or number the stops. Too many places? Tell one part of the map today. Story stuck? Ask what the character wants next. Save the map flat or rolled so its adventure is ready to revisit.